There are few things more painful than an acrylic nail that has been ripped from your nail bed.
It’s so shocking to your system when it happens because it’s rarely slow.
There can be pain, bleeding, and destruction of the underlying nail.
That is what will decide how or if you can fix it.
Assess The Damage
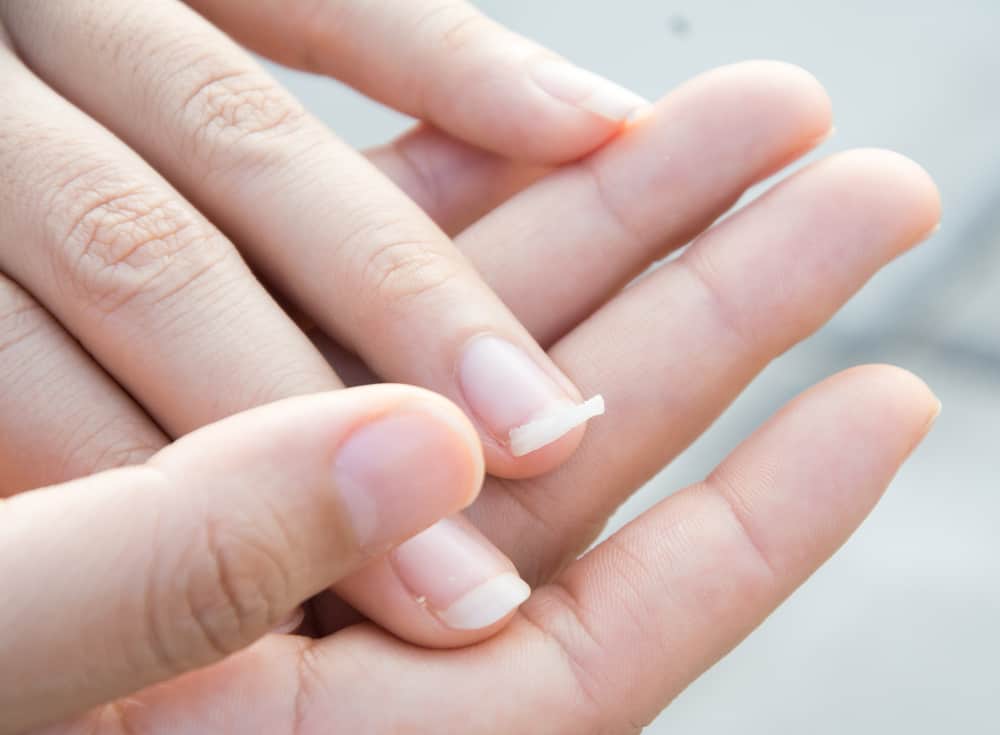
The first step is to assess the damage to the nail and the nail bed beneath the nail.
If it has only ripped off halfway, you may not be able to see the full extent of the damage.
Here, lift the acrylic nail slowly and safely.
If there is pain, then that’s a sign that the acrylic nail has removed part of the natural nail with it.
If it bleeds with pain, then that’s a sign the nail bed is damaged.
In either case, there are things to know before you attempt to fix or remove the acrylic nail.
If The Natural Nail Is Affected
If the pain is real and you see damage to the nail, then just fixing it may cause a few things you don’t want.
First, if it’s hanging on a thread and the nail bed is exposed, do not glue an acrylic nail atop the nail bed.
If you do, you’re at risk of an infection that could spread rapidly.
If the natural nail is affected, but the nail bed is intact—meaning no bleeding or just in one small spot—then you could glue it back on, but there is still the risk of fungus growth.
Your nails are airtight under the acrylic nail.
When that protective chamber is breached even just a little, it’s subject to moisture that can cause fungus and infection, especially with an injury.
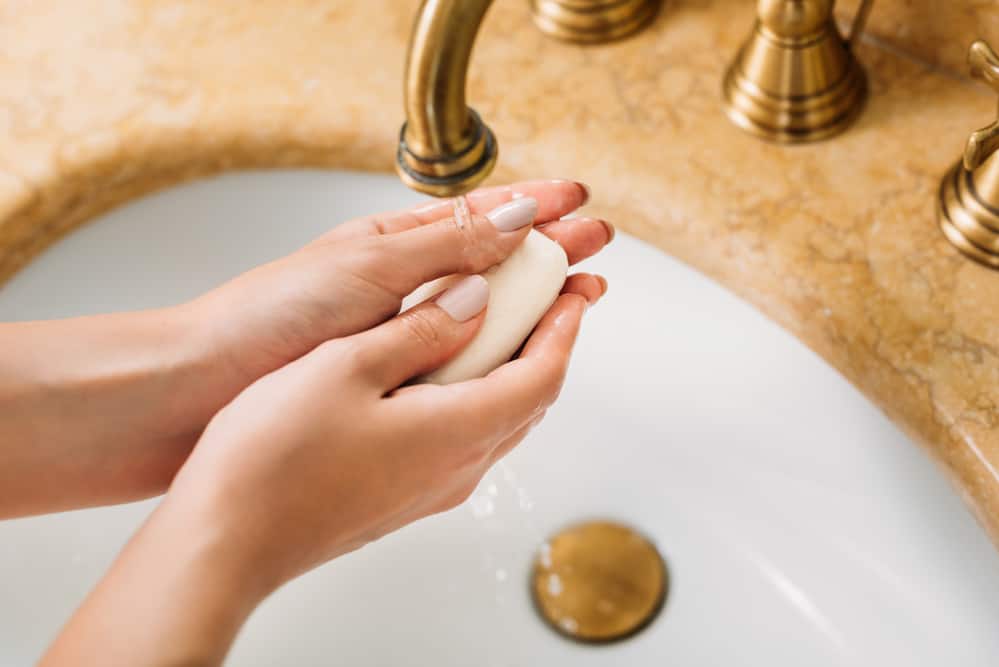
If you decide to glue the nail or replace it altogether, and you’re doing it yourself, make sure it’s sterilized.
Use soap and water to clean the area of blood, glue, loose acrylic shards, and germs.
The most important element is to make sure the nail is completely dry.
Take a blow dryer to it to make sure.
You don’t want any moisture at all on the surface of the broken nail.
If the nail bed is really damaged and you feel pain, burning, and there’s blood, you don’t want to apply any type of chemical on it.
In this case, the nail must grow back to completion, which can take between three and six months.
This is probably not what you want to hear, but if you attempt to place chemicals on top of the injured nail bed, you could lose the nail, anyway.
It may just fall off and take the new acrylic nail with it.
In that case, it will take longer for the nail to grow back.
There is no guarantee that the nail will grow back in its original form.
Once you’ve assessed the damage and decided what you will do, you can follow the next steps.
Make sure you follow the steps to completion and take no shortcuts.
The health of your nails determines the strength of the acrylic nails.
Always keep in mind that the underlying nail is the foundation that your acrylic nails stand on.
If they’re healthy, your acrylics or gels will last longer.
Remove The Acrylic Coating With Precision
This is a precise step.
Each person will have a different issue in the shape, size, and amount that has ripped away from the original nail.
You’ll have to judge the amount of nail you need to take off.
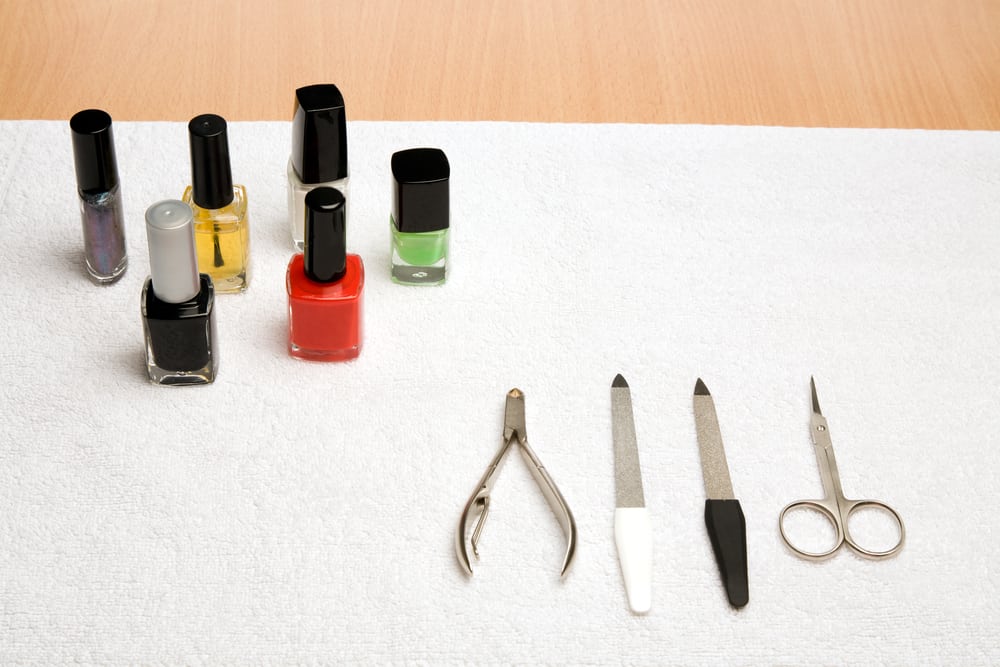
These are the tools you will need in order to perform the task.
Tools
- Soap and Water
- Disinfectant: If your nail bed is damaged and you won’t be putting another nail on top, use a topical antibiotic on the nail and have waterproof Band-Aids available.
- Moisturizer
- Nail Clipper
- File and Buffer
- Small Glass Bowl
- Vaseline
- Acetone
Important Note
Make sure all the tools you are using that are metal, like the clippers, are dipped in disinfectant.
You may also quickly burn the clipper edge with a lighter for three quick seconds and then let it cool for ten seconds.
Do this only if the nail clippers are metal and not plastic or any other material.
Do not use metal bowls for the acetone or any chemical used for beauty, ever.
Metal and aluminum are reactive metals.
Glass would really be your best option here.
Remove The Acrylic Nail
- Inspect the nail and gently try to lift the edges that are still attached to your natural nail. If they don’t lift easily, don’t force it.
- Gently clip the edges of the nail and get it as small as you can. The clipping will disrupt the chemistry of the acrylic nail and weaken its integrity.
- Avoid ripping the acrylic nail off with the clipper. It’s tempting, but it will result in damage to your natural nail.
- The acrylic nail should pop up more easily after you’ve gently clipped enough away.
- If the acrylic is not clipping off because it may be too thick, then start to file it down.
- If all else fails, you may have to use acetone.
Important Instructions For Acetone Use
Acetone is a very strong chemical agent.
It causes damage to the skin and may cause injury.
Make sure you are using it in a well-ventilated room, and use Vaseline to keep it off of your skin.
If the nail bed is damaged, then you should not submerge the finger into the acetone.
This will cause it to seep into an open wound and may prompt a need for medical care.
Acetone is only for an intact nail bed.
Glove your free hand, and soak a cotton swab with the acetone.
Squeeze the excess back into the bowl and hold the swab on top of the acrylic for several minutes.
Repeat often until the acrylic turns a rubbery consistency and can easily peel away.
1. File Your Natural Nail
Now that we have removed the acrylic nail, it needs to be filed down.
Assess the condition of the original nail and nail bed.
Are they severely damaged?
Is there bleeding or pain?
If so, file them with the softest file you have in that area and the roughest on the tips.
You only want to file down the tips and buff the top to smooth out any rough edges and peeling.
One thing you may notice is that your natural nail is thin or has ridges in it.
They need a break from acrylics if it’s possible.
If this is the only nail that has broken and you want to keep the other acrylics on, then you’ll want to fix it so it looks uniform.
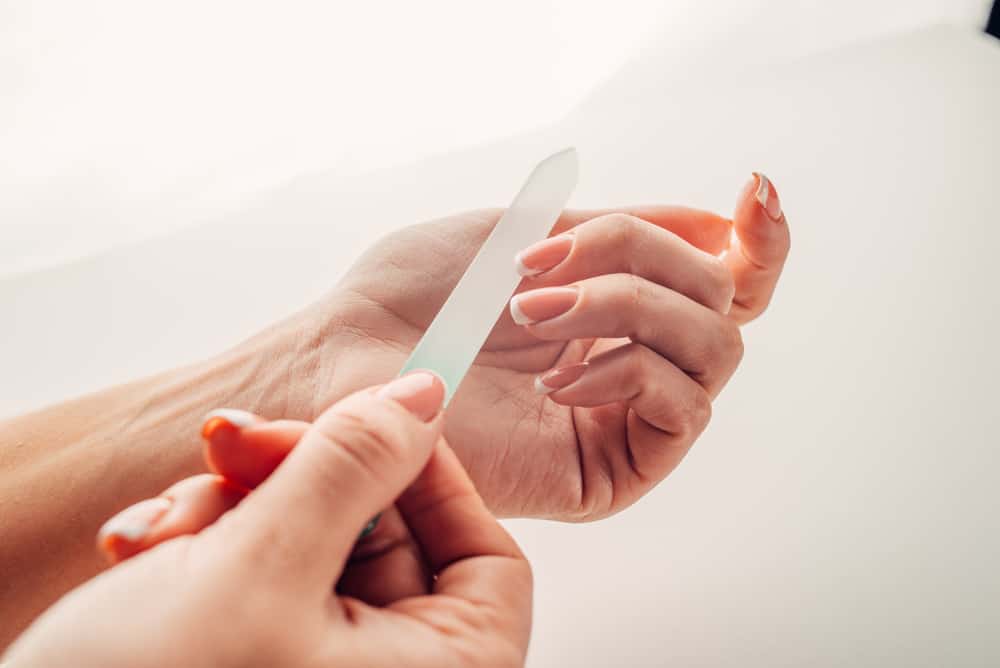
2. File To Desired Shape

When you file nails to get the shape you want, make sure you file going in the direction from the base to the tip.
This direction prevents the damage and peeling of the nail.
File the nail to the shape that you need in order for the acrylic nail to be uniform to the other fingers.
It’s best to shape the natural nail to the shape of the acrylic nail as they’ll fit better, especially if you’re doing it yourself.
3. Prevent Fungal Infections
Your desire to do it yourself is admirable.
However, your professional nail technician does things you probably don’t notice.
Some of those procedures are done before you get there.
Hopefully, all the tools they use are sterilized in an autoclave before using them on your nails.
That’s a professional medical-grade sterilizing machine that medical institutions use.
They never see another person other than you before they are sanitized again.
Our equipment at home is not so clean and neither are our nails.
Before you begin the acrylic or nail polish application process, be sure to follow the steps below.
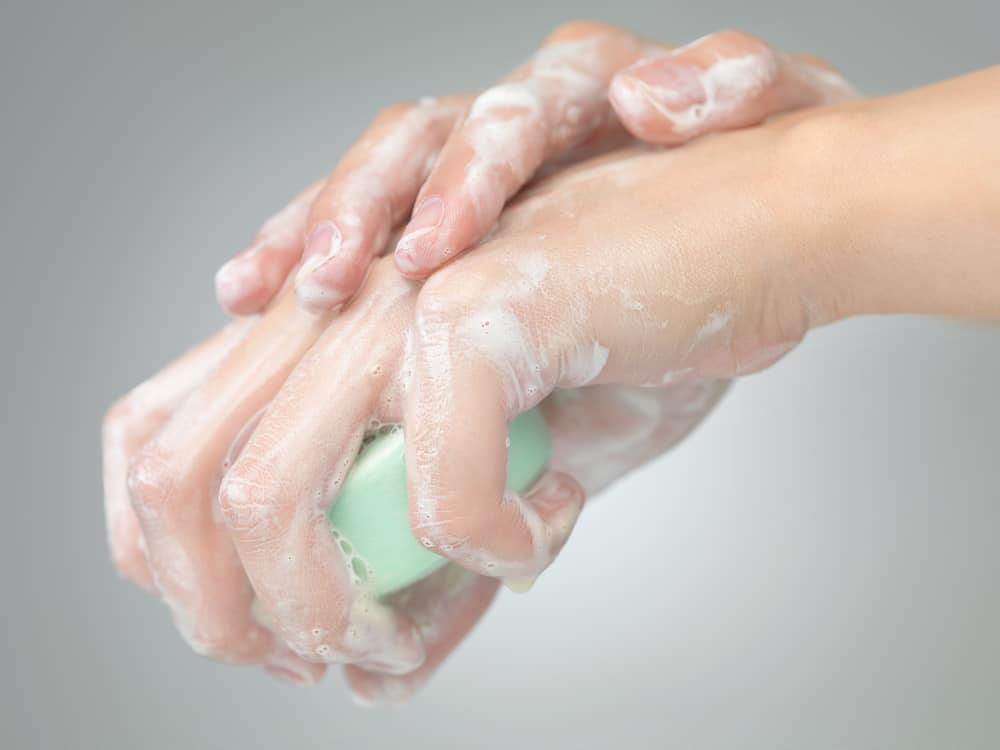
- Wash your hands thoroughly with soap and water.
- Use a nail brush to gently scrub the area of the nail you are working with.
- Dry them completely. Use a blow dryer if need be, to make sure there are no damp spots on the nail or finger.
- Use a topical disinfectant. You may also use an antifungal that you can get over the counter as a preventive measure.
4. Reapply The Acrylic
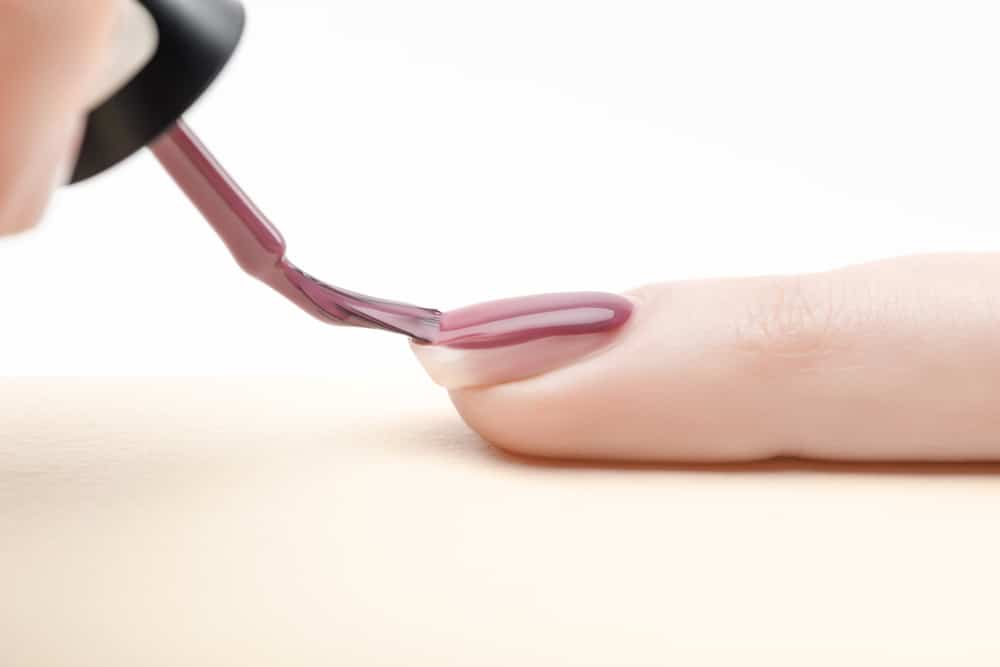
Now it’s time to reapply the acrylic.
Be sure to read all the instructions prior to application.
If you ordered an at-home kit, this will apply.
If you purchased your acrylic from a beauty supply store, you’ll have to consult a professional on how to do it.
Take all the safety precautions you need to.
Each acrylic product comes from a variety of manufacturers so we can’t give you step-by-step instructions as to how to apply the specific product you have.
You’ll have to refer to the user’s manual.
Wear a mask for fumes, find out if you need a ventilator, and use the product in a well-ventilated area.
Open windows and turn on the air.
Beware of fans if you are using acrylic powder because you don’t want it in your face.
5. Moisturize

The last step after application and thorough drying of the nail is to moisturize the hands and skin around the affected nail.
The chemicals you used affect the nail and stress the surrounding skin.
You may notice peeling for a few days around the area, which is a chemical peel.
Continue to moisturize for a day or two after.
If you don’t want to use any harsh or perfumed moisturizers that may make the irritated areas worse, use an oil like sesame or olive oil.
Preventing Your Acrylic Nails From Breaking
Sometimes, there’s just no way to predict or prevent an acrylic nail breaking.
It happens and when it does, it can hurt and really take a lot of effort to repair.
The good news is there are measures you can take to prevent breakage.
1. Treat Them Like Nails, Not Can Openers
Your acrylics may be tougher than your original nails, but not as much as you think.
Acrylic can be like glass that’s tougher than a drinking tumbler, yet still fragile when put under stress.
Some take this belief further and start using their nails to open cans, remove tape, and pick away at objects that are harder than the nails themselves.
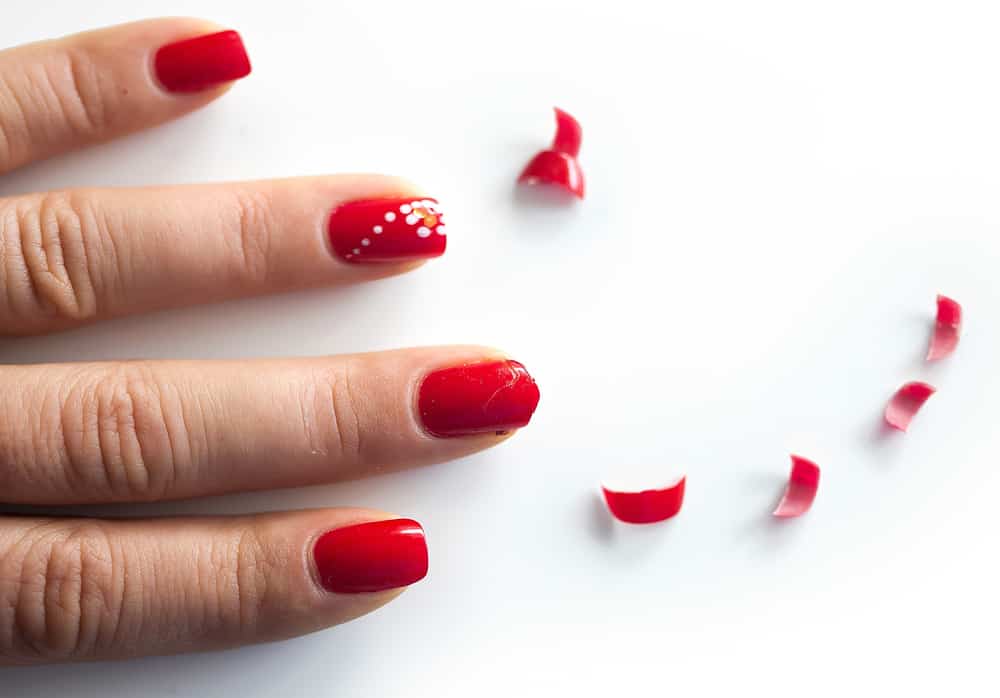
The nails have no flexibility and will crack in layers and leave you with superficial cracks and chips.
This weakens the integrity of the nail, and it will eventually pop off when you do something simple, or worse yet, it will crack all the way to the base.
That’s when we cry because the nail bed will almost always be ruptured, or at least the original nail.
Either way, it spells pain!
2. Keep Them Waterproof
We all should wash our hands.
With acrylics, washing hands and submerging them in too much water will weaken them.
They are a hard plastic but can be porous in places around the actual nail bed.
The fit is never 100% perfect.
Water always takes the path of least resistance and will seep into the small, nearly microscopic pores in the nail surface.
The key here is to dry them completely after wetting them.
3. Keep Them Away From Chemicals
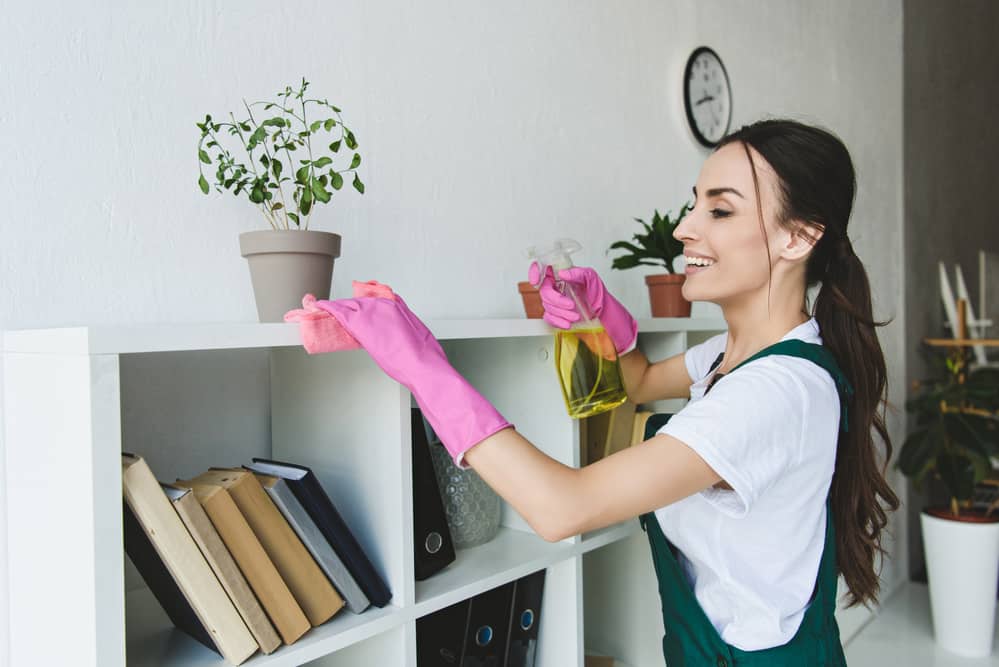
When you do chores, make sure you are wearing gloves.
Constant exposure to dishwashing detergent or clothes washing is damaging.
Chemicals like bleach and cleaners will weaken the integrity of the nail on the first go.
They may not break right away, but breakage is inevitable.
Gloves are your best friend when you have acrylics.
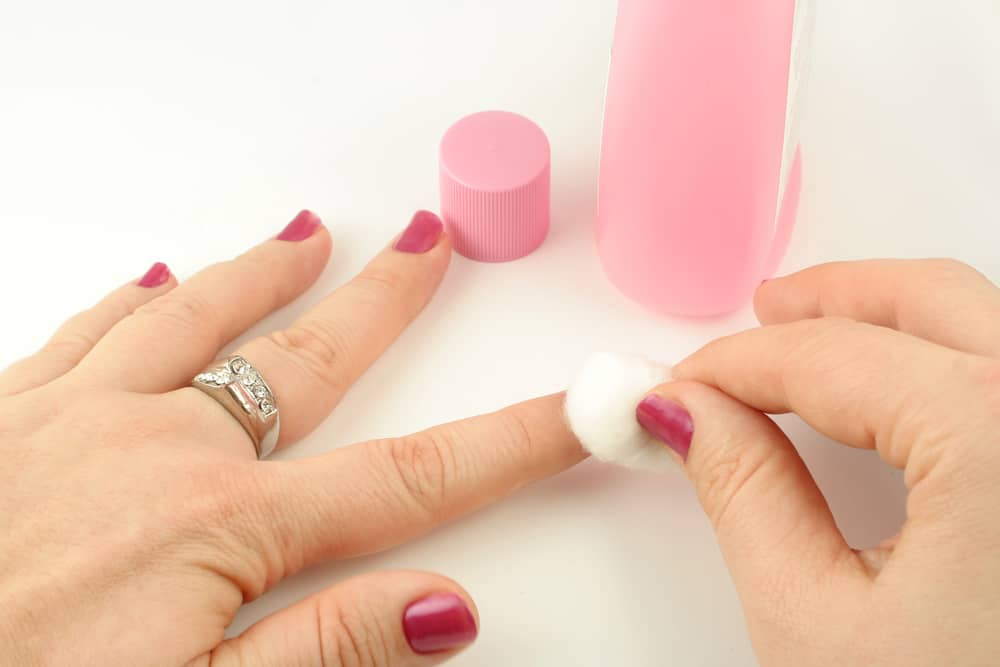
4. Don’t Use Acetone
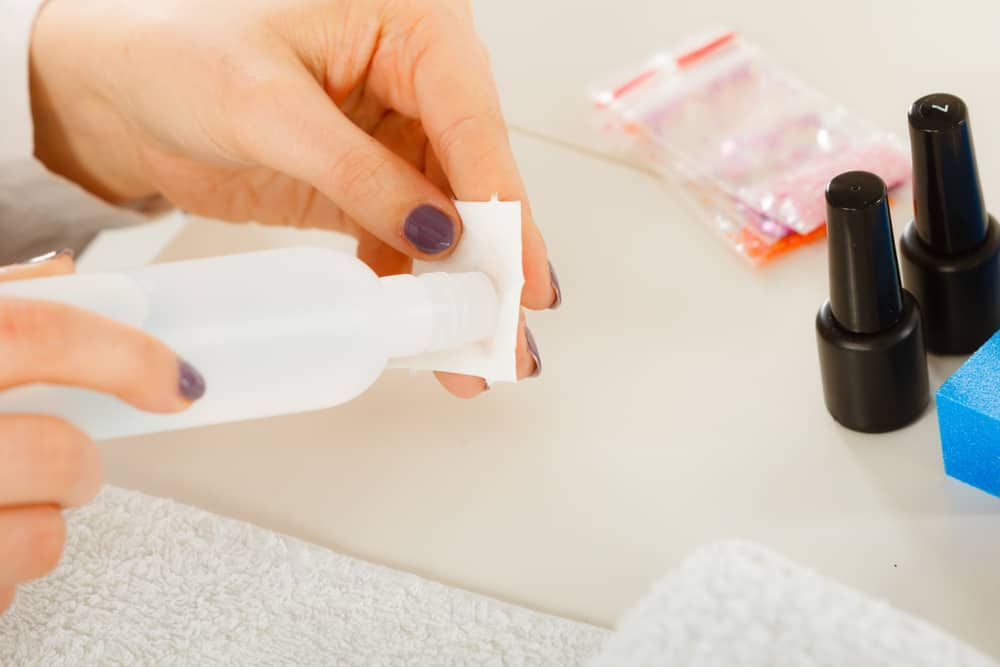
Nail polish remover is often made with acetone to make it more effective in removing nail polish.
It’s a friend to the natural nail wearer because you can quickly change shades.
However, acetone is the enemy of acrylics because it will soften them bit by bit until finally melting the nail off.
5. Take Care Of The Skin Around The Nails
The nail around the skin is the backbone of the nails.
If it’s not healthy, it will contribute to the degradation of the nail.
Dead and hard skin around the nail will lift the acrylic off because there may be friction between the nail and the skin.
You can still get or give yourself a manicure without operating on the nail part.
Soak your nails in soapy water once every couple of months in a non-detergent nail soak.
Cut away the dead, hard skin and moisturize.
6. Disinfect Regularly
Disinfect the nails regularly.
You can wash them with antibacterial soap and remember to rinse and dry thoroughly.
Then, you can take a Q-Tip and dip it in rubbing alcohol.
Run the tip under the nail to prevent fungal infections.
We have mentioned fungus here several times because it’s something that is important.
Once you have fungus in the nails, whether on the feet or the hands, it’s hard to get rid of.
Sometimes an internal medication has to be taken, and that has its own health risks.
The good news is that fungus is preventable.
7. Get A New Set Regularly
You shouldn’t keep filling the nails repeatedly.
Two to three times is enough.
By the third go-round, the nail tech should suggest that you have the old ones soaked off and a new set put on.
They aren’t just trying to make you spend more money.
They’re looking at how dirty and thin the original nail tip is and for any discoloration that can be a sign of future fungus.
If you continue to fill the nail, the fungus can grow unchecked and unseen until it’s too late.
Never let your nails grow out more than a quarter-inch before you replace the acrylics.
This can damage the under nail.
When you get them filled, try not to cut them down as that will weaken the acrylic.
If you want them shorter after you fill them, it’s best to ask the nail technician to file the nail down instead.
Bottom Line
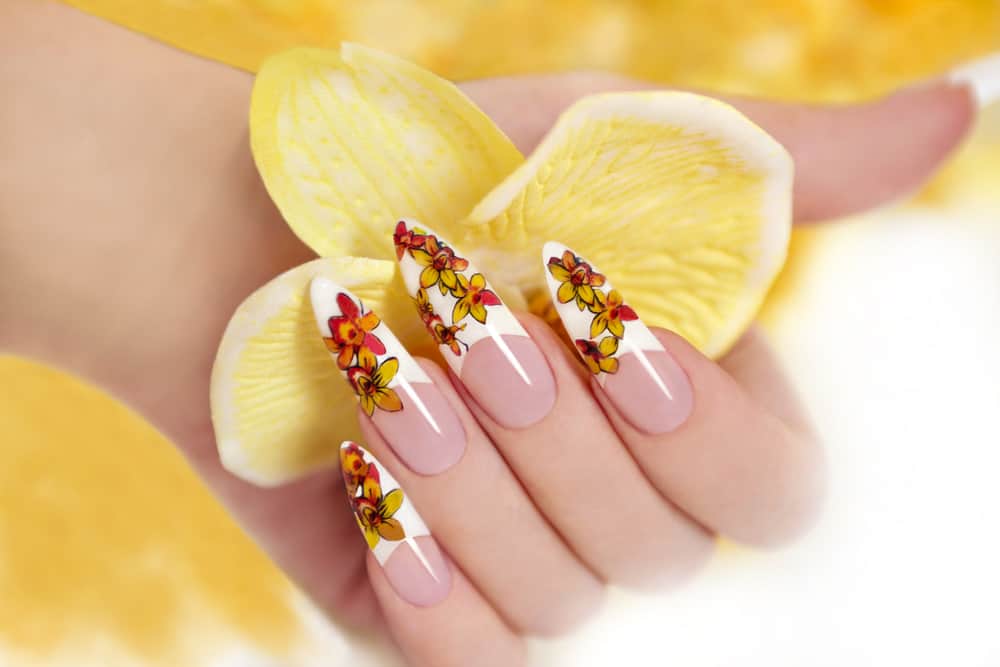
Nails are a beautiful extension of the body.
They showcase the fingers and hands and offer a sense of femininity and style.
When you decide you want to grow your nails long, it can be devastating if you have issues in that department.
Luckily, someone invented acrylic nails, and now, anyone who wants long, beautiful nails can have them.
The key is to always keep them clean and dry.
Don’t use them like utility tools or a can opener.
Use gloves when you use chemicals to clean, and get them changed every third time.
Leave a Reply