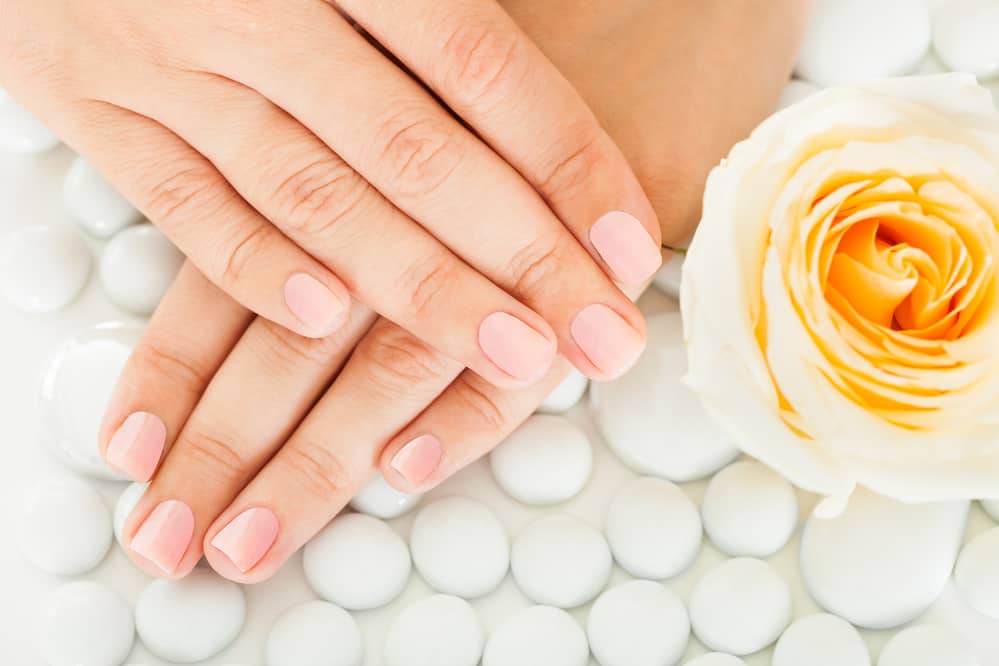
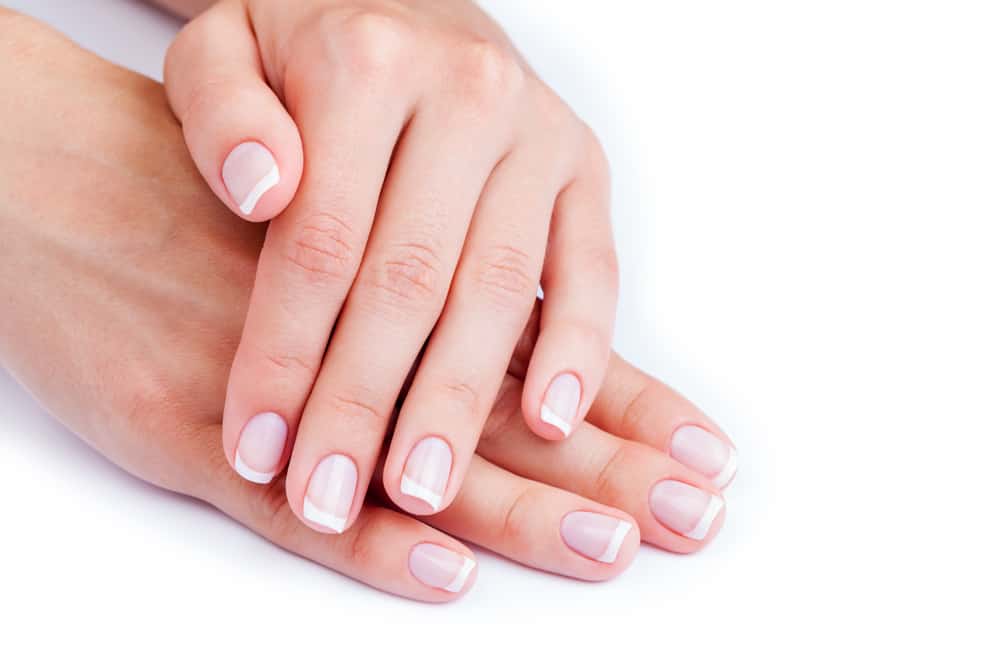
Your nails only look as good as the amount of effort you put into their upkeep.
Whether you wear your nails naturally or use artificial nails, the health of your nails is a crucial part of achieving your desired nail design.
In order for your nails to stay healthy, you will occasionally have to buff them out or sharpen them, depending on your preference.
How To Sharpen Nails
While most people may prefer to smooth their nails out, others are looking to have sharper angles for the tips of their nails.
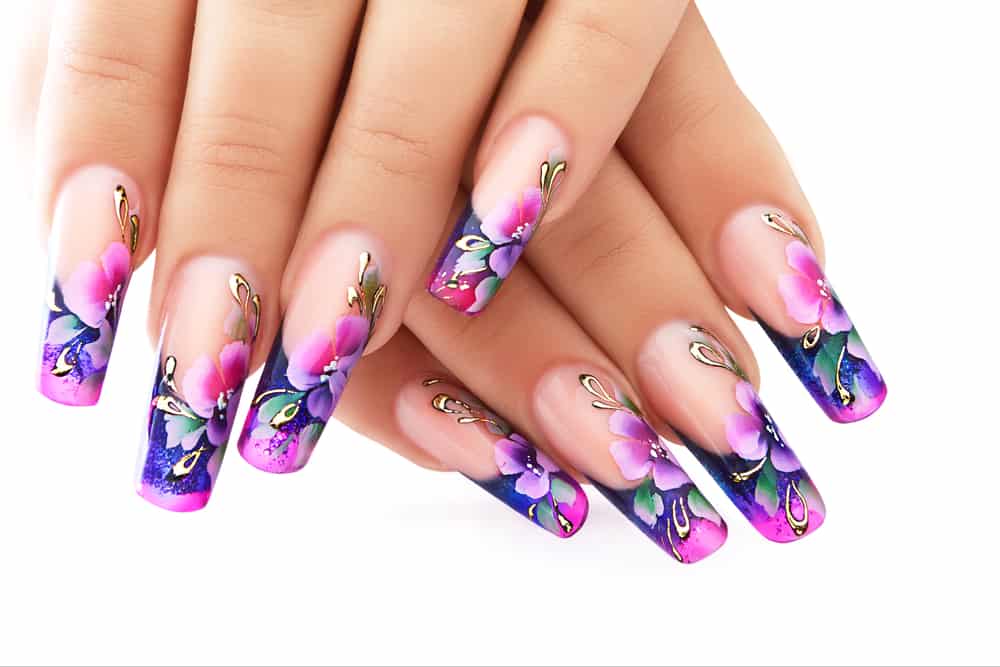
Through the science of artificial nails, your nails can be any shape you want them to be, but seven shapes are more common than most.
These shapes are square, squoval, round, oval, almond, ballerina, and stiletto.
Before we get to the specifics of these shapes, you need to learn the basics of how to sharpen your nails.
It is never a bad idea to review the fundamentals.
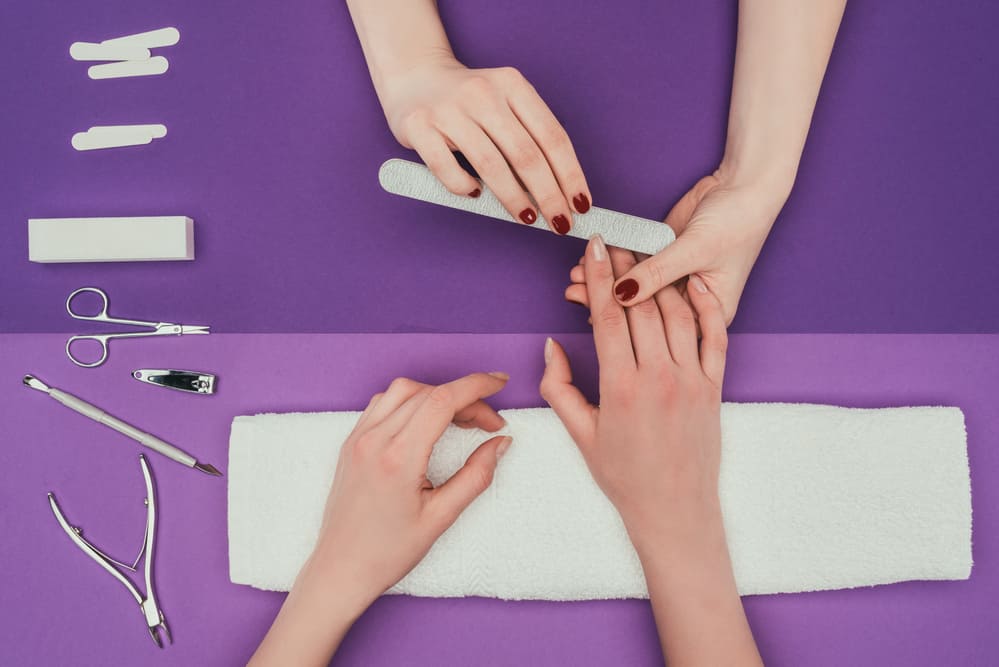
Step 1: Choose Your Tool
Nail files may seem simple and all the same, but not all nail files are equal.
When trying to decide which type of nail file to use, you should consider the density of your nail and the density of your nail file.
Most nail files are extremely coarse because it helps them last a long time, but a nail file that is too coarse is going to do more harm than good.
The coarser nail files are prone to ripping and tearing nails instead of gently smoothing them.
Rips and tears in your natural nails can lead to infections.
You may not have thought of it, but you should be washing your nail files after every use.
When filing your nails, all the bacteria that are hiding right below your nail is getting shredded and spread across your file.
Leaving the bacteria on your nail file also makes you more susceptible to infection.
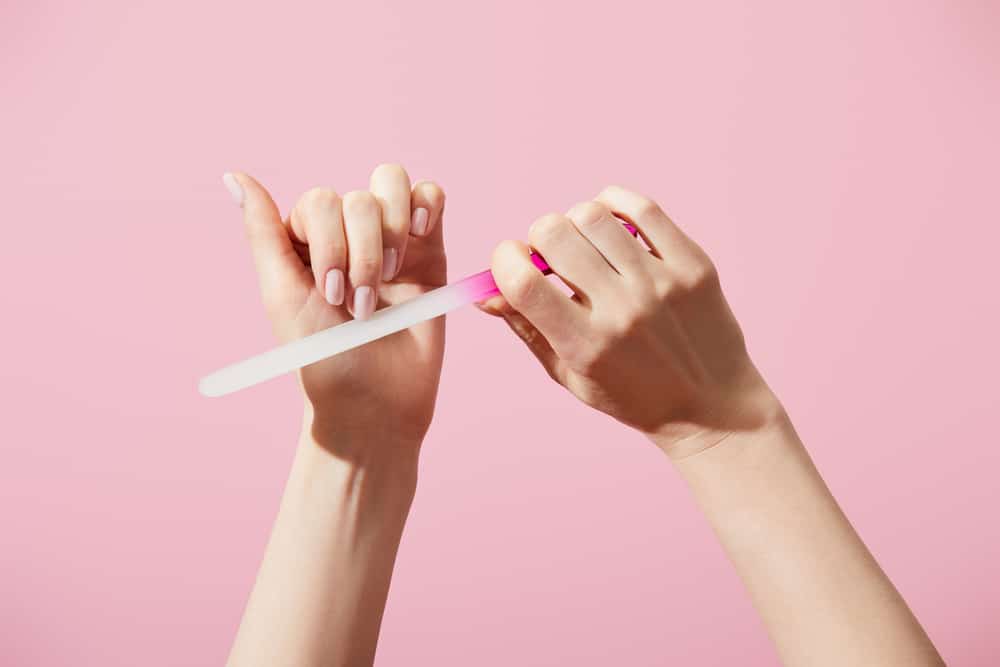
The best kind of nail file you can get for yourself is a glass nail file.
Glass files are vastly gentler on your nails.
They are also the easiest type of file to clean.
Even celebrity nail artist, Sarah Bland, agrees that glass nail files are the best.
Beyoncé is one of her clients, which means even this superstar uses a glass nail file.
The nail file is going to be the most important and most used tool of your nail filing process, but it isn’t the only tool you’re going to need.
You will also need a buffing block.
A buffing block is vastly gentler than any nail file and is used for finishing your nail filing job.
The best kind of buffing blocks will have multiple densities for different jobs and nail strengths.
Step 2: Prepare Your Nails
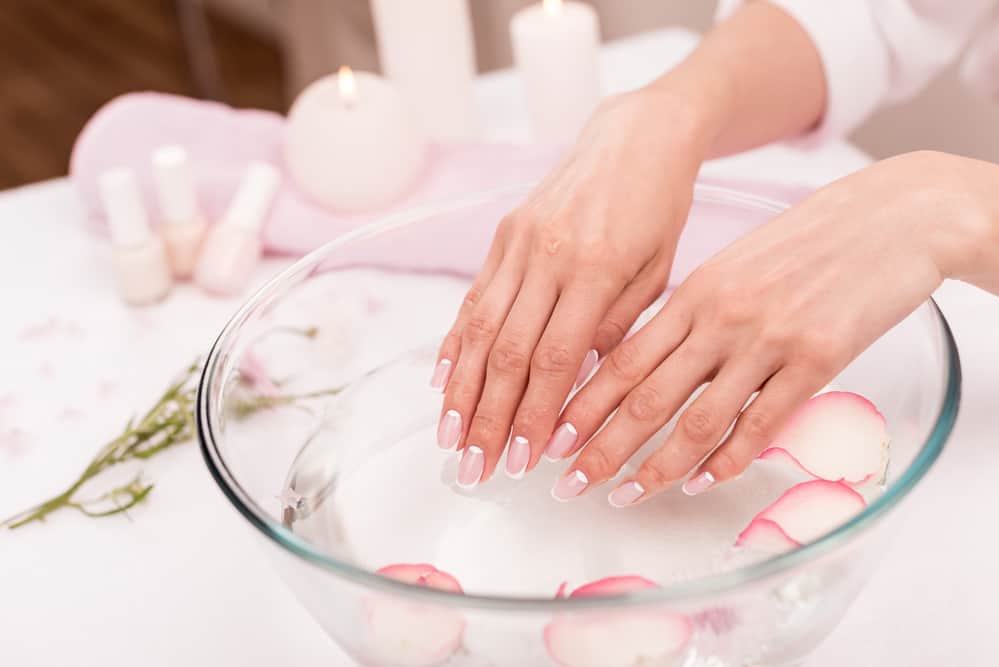
Proper preparation will always lead to a higher likelihood of success, and your nails are no different.
You need to wash and dry your hands thoroughly.
By washing your hands, you are lowering the number of bacteria on them, which in turn, will lower the number of bacteria that are going to get on your file.
Once you are done washing your hands, you will want to make certain that your fingers are completely dry.
If you file your nails while they are wet, you will be more likely to weaken them, and they will be more brittle as a result.
Washing your hands in preparation for filing them is the most commonly forgotten step in filing your nails.
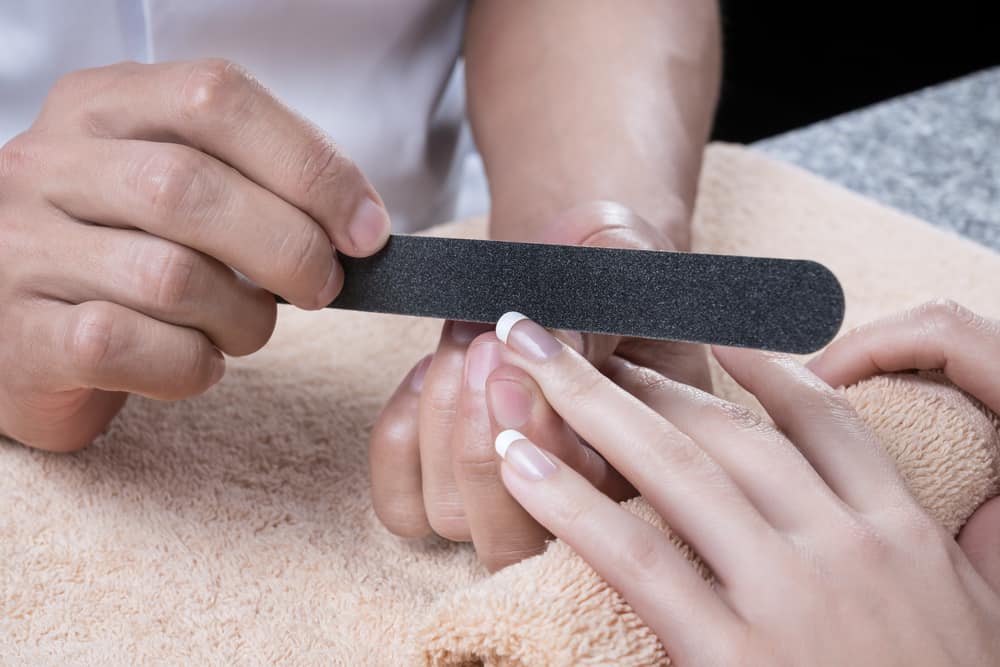
Step 3: Filing Your Nails Properly
When most people file their nails, they simply go into autopilot and couldn’t give a care in the world about which way they’re filing.
It’s easy to think that any old way of doing what seems like a tiny, simple job will do.
Think of your nails as the Earth.
There is the left hemisphere and the right hemisphere.
The best way to file your nails is to start with one side and then match the second side to the first side.
You should also avoid sawing your nails with a back-and-forth motion.
Instead, you should file in one direction.
This prevents any ripping or tearing of the nail.
If you rip or tear your nail while filing, you will lose all the hard work you did to shape your nail.
By filing in the same direction, you will avoid all the micro-tears that come with sawing at your nails.
Think of yourself less as a lumberjack and more as a sculptor when shaping your nails.
Another tip for making your nail filing look even better is to file your nails as if you were having another person filing them.
Instead of curling your nails in and towards you, lay your hands flat to have a better, more even view of your nail.
This will take some getting used to, but practice makes for perfect nails.
Nobody said being beautiful is easy.
Don’t rush perfection when doing your nails.
It is much better to take your time and make sure your nails look smooth and even.
A rushed nail job is easy to spot, and no amount of polish can cover it up.
Like any form of art, remember to measure twice and cut once.
Step 4: Buffing Is Your Best Friend
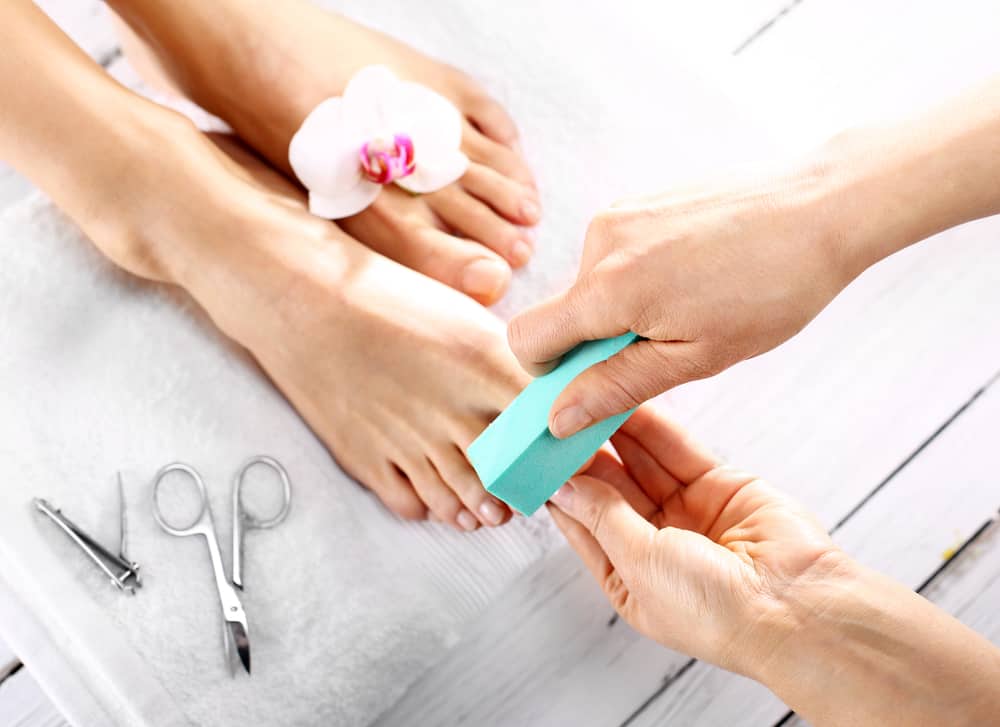
To finish your nail filing job, you will need to break out the buffing block.
The best buffing blocks for your nails are the ones that have multiple densities.
This helps prevent you from over buffing and damaging your nail bed.
Damage to your nail bed can negatively affect the growth of your nails.
One of the best buffing blocks on the market right now is Onsen Secret’s Japanese Nail Buffer.
This buffing block is perfect for those who have sensitive skin thanks to its organic ingredients, and it is fragrance-free and paraben-free.
All of Onsen Secret’s products are cruelty-free as well.
Onsen Secret claims that you will only need to use each side of their buffing block for 10 to 15 seconds.
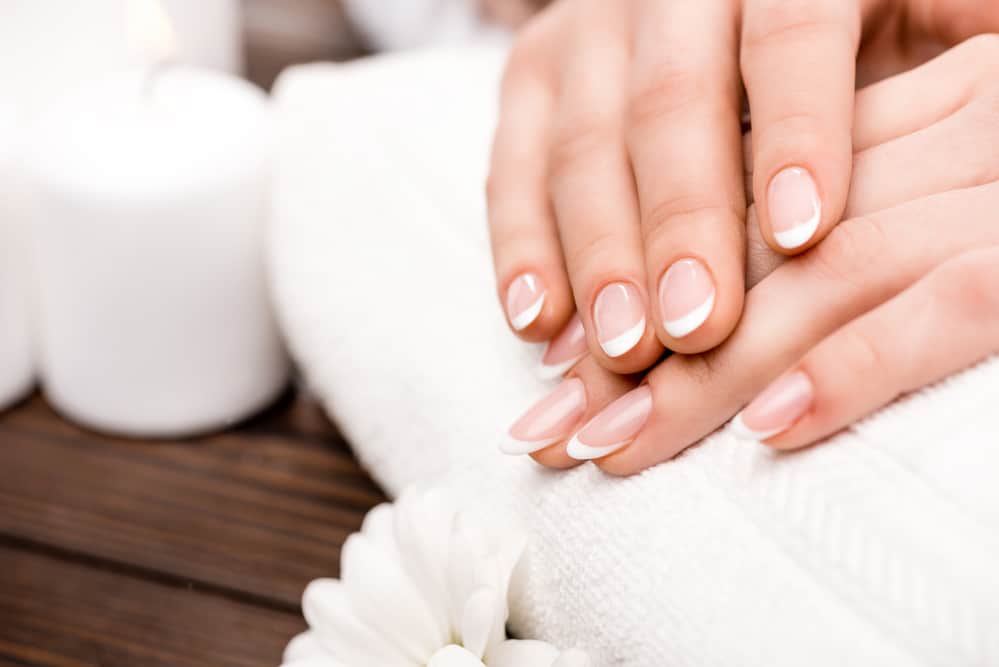
You will know that you’ve done a good job buffing if your nails are shiny, smooth, and don’t have filing flakes left over.
Buffing is what gives your nails that clean, professionally done look.
When Not To Completely File Your Nails

Some people can grow their nails out with ease and have a harder time keeping them short.
The opposite can be said for many others.
Those who have a difficult time growing out their nails or those who bite their nails shouldn’t file their entire nail.
If you want to help your nails grow evenly, then you should only shape the corners of your nails.
You will also want to file underneath the nail in order to avoid filing your own skin instead of your nail.
This also helps create a better angle for your nail to grow in.
1. Round Shaped Nails
This is the simplest and most natural shape for your nails.
Most commonly worn by athletes and those who do a lot of intense, physical labor, it is one of the easiest shapes to achieve out of the seven.
This shape works best for anyone, whether they are shorter, longer, thinner, or wider fingers.
The round nail shape is also the easiest to maintain.
It is perfect for those who struggle to grow their nails out or those who often break their nails.
This low-maintenance look is incredibly easy to keep up.
All you need to do is evenly round out both sides of your nail and only leave a millimeter or two of the nail hanging past your fingertip.
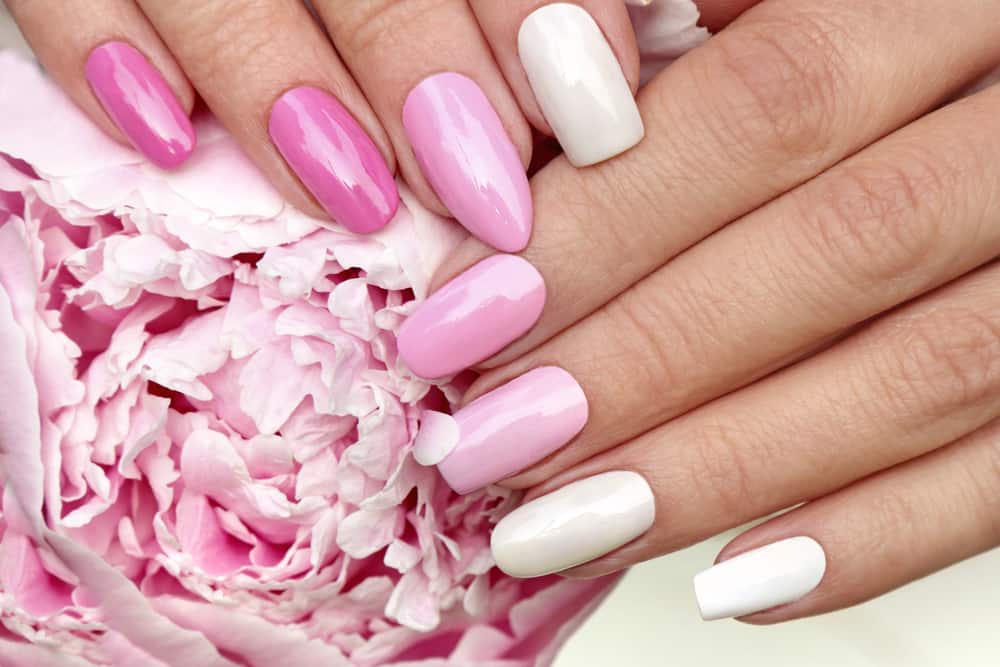
2. Oval Shaped Nails
People with longer fingers and fingernails occasionally achieve the oval shape by accident when attempting to achieve the round shape.
The rest of us actually have to try to shape our nails this way.
If you were a kid of the ‘90s or early 2000s, then you probably remember the height of the oval-shaped nail’s popularity.
This nail shape helps elongate shorter fingers, which makes it one of the best choices for short-fingered people.
To shape your nails into an oval shape, start by pinpointing the middle of the tip of your nail.
That is where the rounded tip of your oval shape will be.
Where the white part of your nail starts is where you will start to file.
You are going to want to file towards the tip of the oval you’ll create from the base of the white part of your nail.
Keep your file angled slightly upwards as you begin to work on the first side.
Make sure that the angle of your nail’s curve is not too straight or too rounded.
Otherwise, you will not achieve the perfect oval shape you are going for.
If the sides are too straight, you can always file the tip of your nail to smooth it out.
However, hold off filing the tip of your nail until the end in order to keep as much of the healthy nail as possible and to avoid accidentally turning your oval nails into round nails.
Don’t forget to look at your nails from the side to make sure that they are even from all angles.
Make sure to maintain a gentle pressure to avoid ripping or tearing the nail.
You can always buff out any rough edges you have with your buffing block to smooth out the entire nail.
3. Square Shaped Nails

While the oval and rounded nail shapes take similar approaches, the square shaped nail requires a slightly different technique to acquire them.
Square shaped nails are best for those with long fingers and wide nails.
The wider the nail, the less likely a square shaped nail is to break.
Before you begin to file your nail, you will need to draw a line on each of your nails.
You will want to make sure that you are leaving the same amount of overhanging nail on each finger.
Most beauty gurus will use a non-toxic, washable marker to do so.
Then, set your nail file perpendicular to your finger while the file is flat against the nail and begin to file one direction.
Make sure that your nail file and your finger are creating a 90-degree angle in order to have an even tip of your nail.
Your nail file should not be curved up or beneath the nail.
Otherwise, you end up with a curved tip.
For the square shape, you don’t need to file the sides or corners at all.
4. Squoval Shaped Nails
The easiest way to achieve squoval shaped nails is to start by shaping your nails into the square shape.
Follow all the steps from the previous shape to start the creation of your squoval shaped nails.
Then, take your nail file and place it beneath the flattened tip.
Just barely file out the corners of the nail.
The difference between square and squoval may be small, but many find that squoval nails look better on a bigger variety of finger and nail types.
5. Ballerina Shaped Nails
Both the ballerina and squoval shaped nails are more easily achieved by starting with the square shaped nail.
Complete all the steps for the square shaped nail, and then you can adjust the shape to create an even ballerina shaped nail.
Start by curving your nail file underneath the nail, beginning at the base of the overhanging nail.
File all the way up to the tip of the nail, applying more pressure as you get closer to the tip of the nail.
When filing, curve your angle slightly to avoid making too sharp of an edge. Your nail should be shaped similarly to a ballerina’s shoe.
6. Almond Shaped Nails
Almond shaped nails may look amazing on those with short fingers, but this long shape can be extremely difficult to do naturally.
Almond shaped nails are also more likely to break, especially compared to the oval, rounded, and squoval shapes.
This is because their length weakens the overall integrity of the nail.
However, if you have strong, healthy nails, then this won’t be too much of a problem for you.
When filing your nail into the almond shape, place the file underneath your nail.
This will help create a more convex shape, which will allow you to create a point without making the end too sharp.
Gently sharpen the sides of your nails until they resemble an almond.
7. Stiletto Shaped Nails
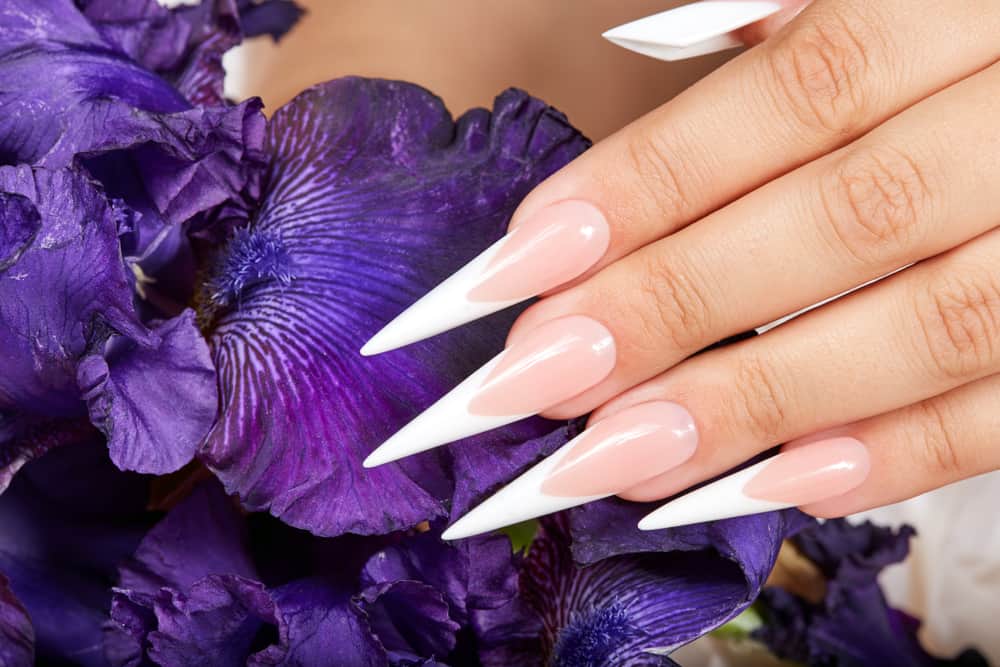
The singer, Rihanna, loves to rock stiletto shaped nails.
These talon-like nails are as fierce as they are long.
Although the stiletto shape is the most likely to break out of the desired shapes, fans of the shape would rather just be cautious rather than live without them.
To create the stiletto shape, you’re going to need an extremely long nail.
You will most likely need an artificial nail to have enough length to pull this look off.
Unlike the other nail shapes, you need to sculpt the nail using your preferred artificial nail of choice.
Lay your finger across something sturdy and use that to build the nail shape.
Pull your material from the nail bed out to a long point.
Once your material has dried, file the nail from the nail bed straight out to the point.
Your file should be angled below the nail while filing in one direction.
Finish your stiletto nail by evenly buffing the top to blend the natural and artificial nail.
Now, you have a gorgeous nail shape that works for any finger or nail!
Leave a Reply