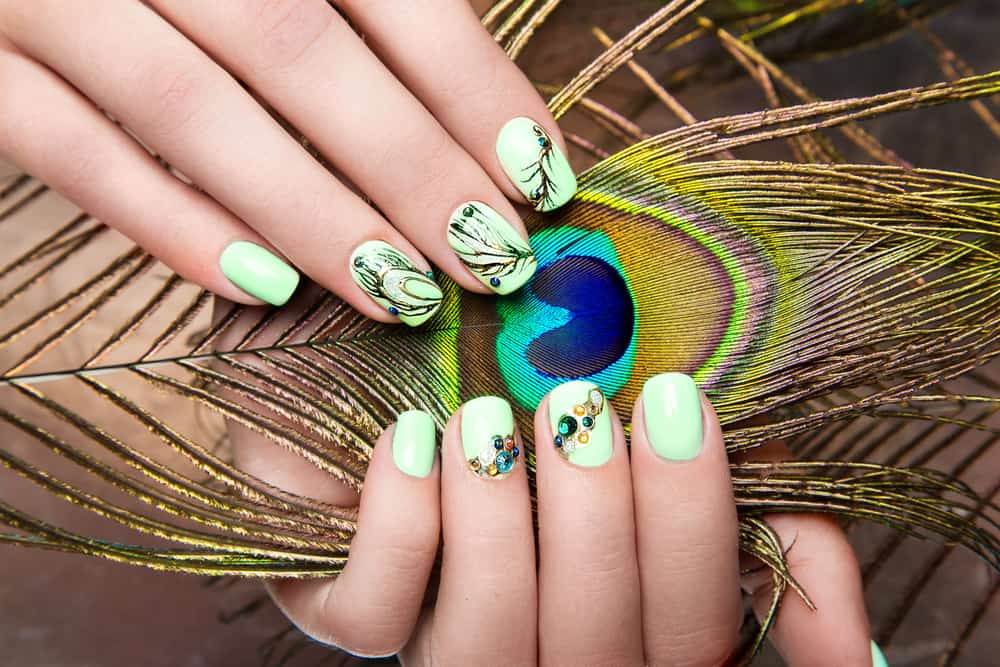
Nails have so much potential for decoration that goes well beyond nail polish.
They can be adorned with decals, paint designs, charms, and even rhinestones.
Rhinestones lend the nail shine and glitz when the right amount of light hits them.
You can wear them every day or you can wear them for an event.
The only issue is keeping them on.
It’s simpler than you think.
Let’s address the staying power of rhinestones and other tips for this special bling.
How Do I Keep My Rhinestones From Falling Off My Nails?
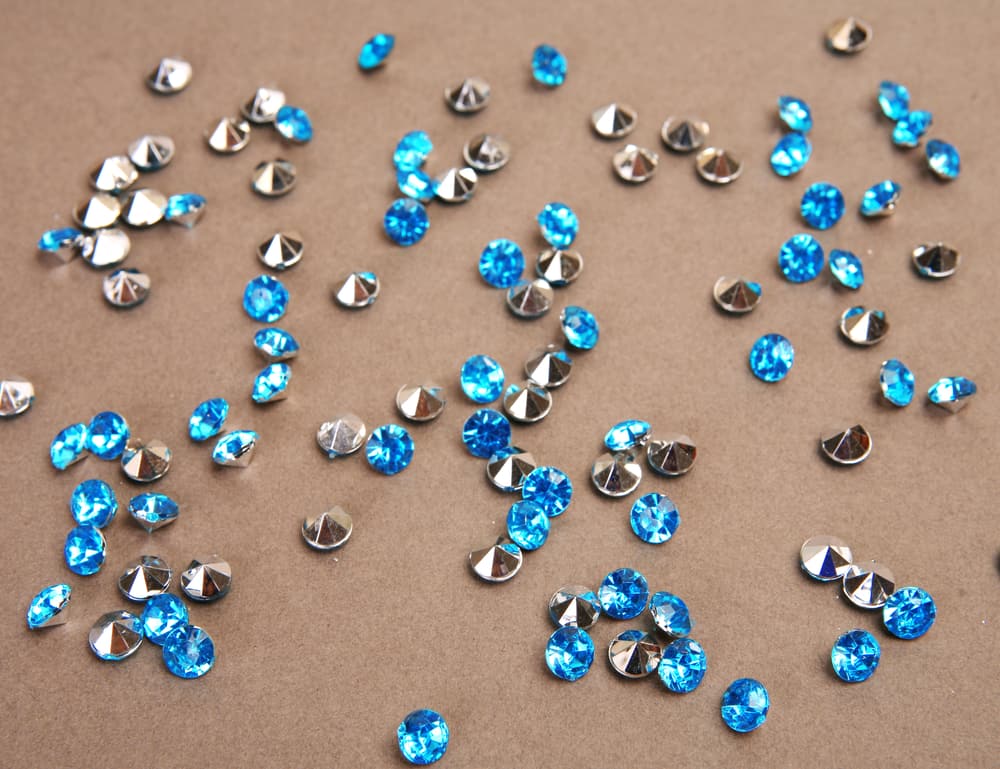
You can keep your Rhinestones from falling off your nails by super gluing them on or curing them in gel.
You could also use hot glue or another type of adhesive.
Some methods work better than others.
There are several keys to success with adhering rhinestones to your nails.
It depends greatly on what type of nails you have.
Are they short, long, natural, artificial, gel, or acrylic?
There are several steps to apply each of those types for best results.
How Do I Apply Rhinestones To My Natural Nail So They Don’t Fall Off?
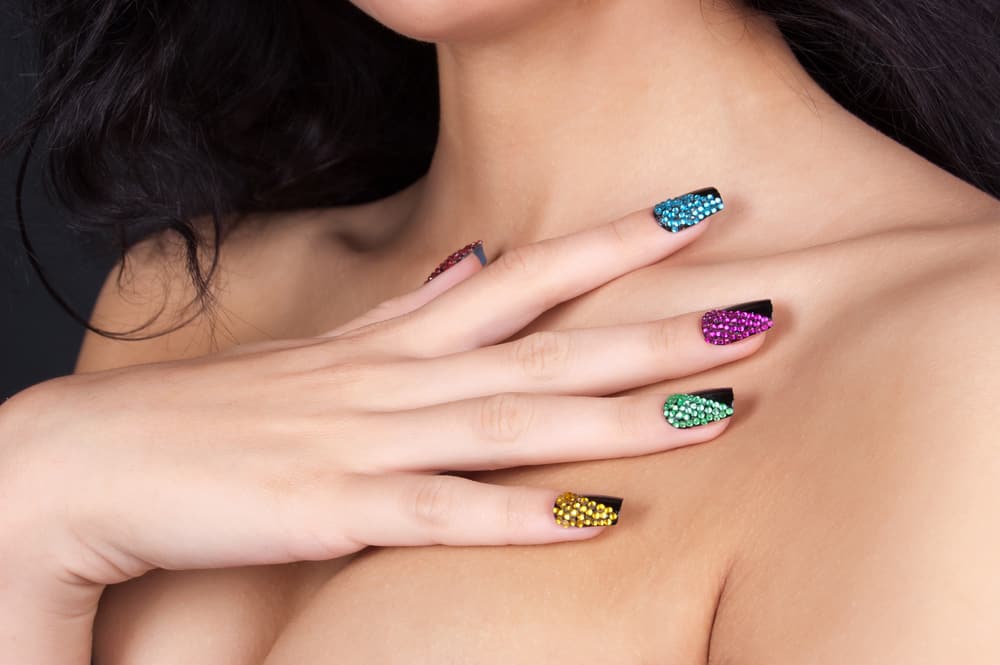
You can use a topcoat and super glue.
To apply rhinestones to your natural nails securely, the health and care of the nail must be addressed.
First, inspect the nail.
Is it healthy?
Have you had artificial nails on them that have made them thin and brittle?
If so, you must remedy this issue first.
To do this, you can get a professional manicure.
Manicures will help to fortify the nail to hold on to anything you place on it longer.
If a professional manicure is not in your budget, you can give yourself one at home using the steps below.
Special Note:
If you do get a professional manicure, make sure you can apply your own extra topcoat back at home.
Otherwise, you could pay a little extra and have the salon apply the rhinestones for you.
- Soak your hands in a mild dishwashing liquid until cuticles are soft.
- Use an orangewood stick with the beveled side and push the cuticles back gently.
- Take a cuticle scissor and cut back any white, dead cuticle skin. Clippers can be used to take off any hangnails.
- Clip the tips of the nails straight across, but not too short. You’ll want to leave a quarter-inch over the top of the finger if you can.
- File the shape of the nail as you wish to have it.
- Paint the nails or use nail polish strips. Several companies carry them. There is no drying time or smudging with these. You can also use them as accents on a couple of fingers with your adornments.
- If you use regular nail polish, make sure you use a base and topcoat. You are forming the foundation for your rhinestone application.
How To Apply The Rhinestones To The Natural Nails Step By Step
Tools You’ll Need
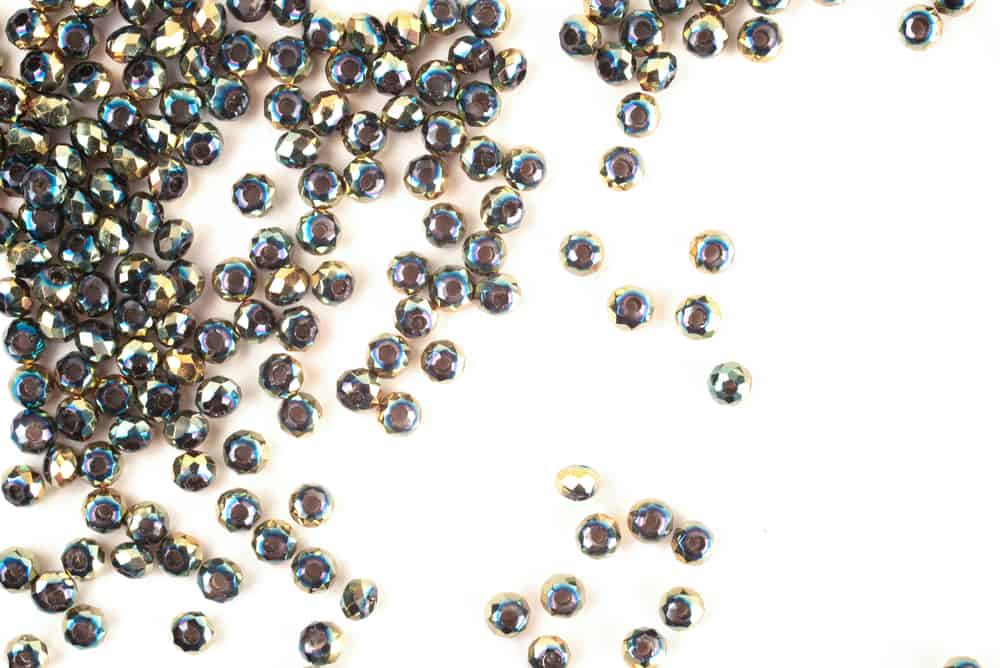
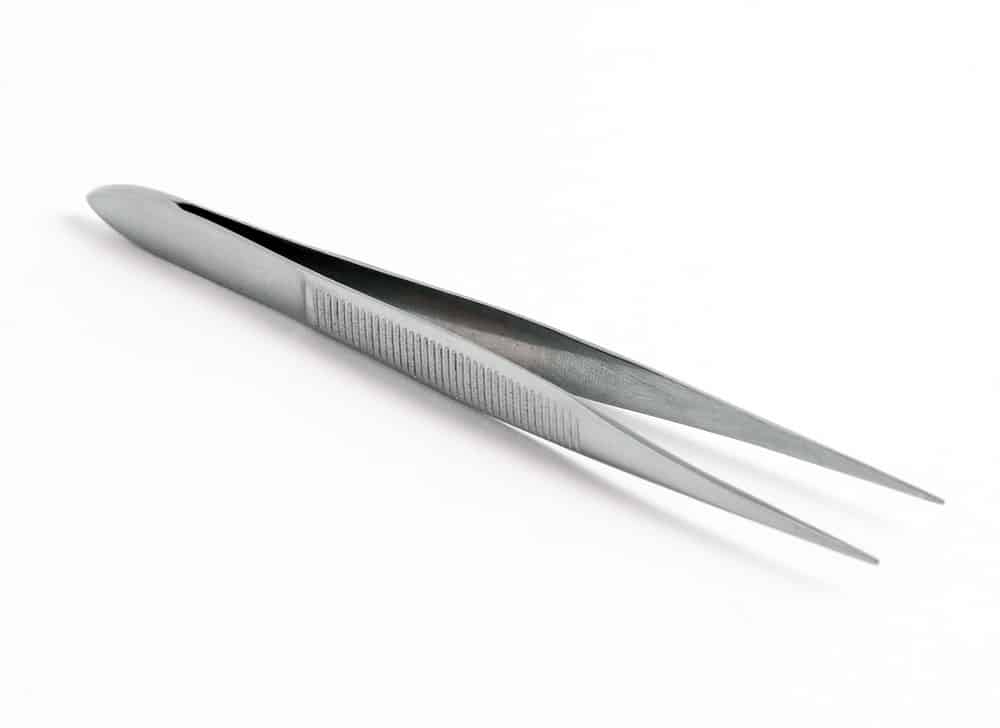
- Tweezers
- Rhinestones
- Superglue
- Topcoat
Step One
Inspect the rhinestones and choose the size, color, and shape you would like to use and for which finger.
There are a lot of videos and images online.
You could look for formations that other people have used.
Step Two
If you’ve followed the steps for a home manicure, or you’ve gotten a professional manicure, you need to apply a semi-thick layer of clear topcoat first.
Do one nail at a time for two reasons.
First, you won’t smudge the other nails while you are working on one and the others won’t dry while you are working on the one nail.
This ensures you get good adhesion and the design you want.
Step Three
Start with doing your dominant hand.
That means you’ll be using your non-dominant hand.
If you are right-handed, that is the hand you’ll apply the rhinestones to first.
Once the topcoat is applied, you can apply a small amount of superglue onto the rhinestones.
You’ll need to put two coats of glue on each rhinestone for best results.
They’ll stick better with a dry coat on the back first.
Think of it as a primer.
Using a tweezer or your fingers, whichever you feel more comfortable handling the rhinestones with, place them in whatever formation you like.
Step Four
Once you have affixed the rhinestones on the first nail, apply another semi-thick coat of topcoat to the nail and liberally over the rhinestone.
You don’t have to let each nail cure totally first.
Just allow it to dry to slight touch.
Now, repeat the same steps with each nail.
Step Five
Let all the nails cure.
You can help this happen by holding them under a fan.
Unless you are doing the gel version, don’t use a UV or LED lamp or a blow dryer.
Too much heat may cause the rhinestones to fall off.
How Do I Apply Rhinestones To Gel Nails So They Don’t Fall Off?

Gel can do amazing things for nails.
It strengthens them, yet it’s strong enough to hold many nail decorations.
Rhinestones are no exception.
Nail gel can be used over your own natural nail or with tips.
Here are the instructions for both.
Special Note:
If you are already wearing gels from the salon and you’ve decided to have rhinestones at some point thereafter, you may want to use a topcoat if you don’t have the proper nail gel equipment at home.
It can be expensive and requires the use of a UV lamp or LED lights.
If you don’t use the right stuff, they’ll be improperly cured and fall off easier.
How To Apply Rhinestones To Gel Nails Step By Step
Tools You’ll Need
- Gel Tips if you are doing the whole job yourself
- Gel base coat
- Gel topcoat
- Tweezers
- Rhinestones
Step One
Follow the instructions for applying your tips and gel all the way to the first layer of gel.
Then cure under lights and then apply the gel color.
If you are applying gel to your natural nail, follow the instructions for your gel kit up to the base coat.
Step Two
Once you’ve done whichever process you’ve chosen up to the gel base coat, cure that coat under the UV or LED lamp.
Apply the gel color now and cure the color coat.
Do one or two coats, whichever you choose.
The thicker the better for adhering your rhinestones.
Step Three
Now, apply the topcoat of gel.
This time, you won’t cure it until after you’ve placed the rhinestone directly into the gel topcoat.
You can fortify the rhinestone with nail glue first.
Do only one nail at a time.
With gel, you can cure each nail you’ve applied the rhinestones to, unlike the regular topcoat process.
This makes things faster.
Once the rhinestones are affixed, cure them quickly under the lamp, and if you want, we recommend applying an extra coat of gel top coat over the rhinestones and curing them again.
Gels have a lot of staying power, and they keep a high gloss lacquer-like shine.
That means the rhinestones should retain their sparkle.
If you use the first method of glue and regular topcoat, you could lose some of the shine and the topcoat likes to peel away, which will cause dullness and cracks in the finish.
Gel is recommended more than regular topcoats.
Keep Your Rhinestone From Falling Off Your Nails With Hot Glue
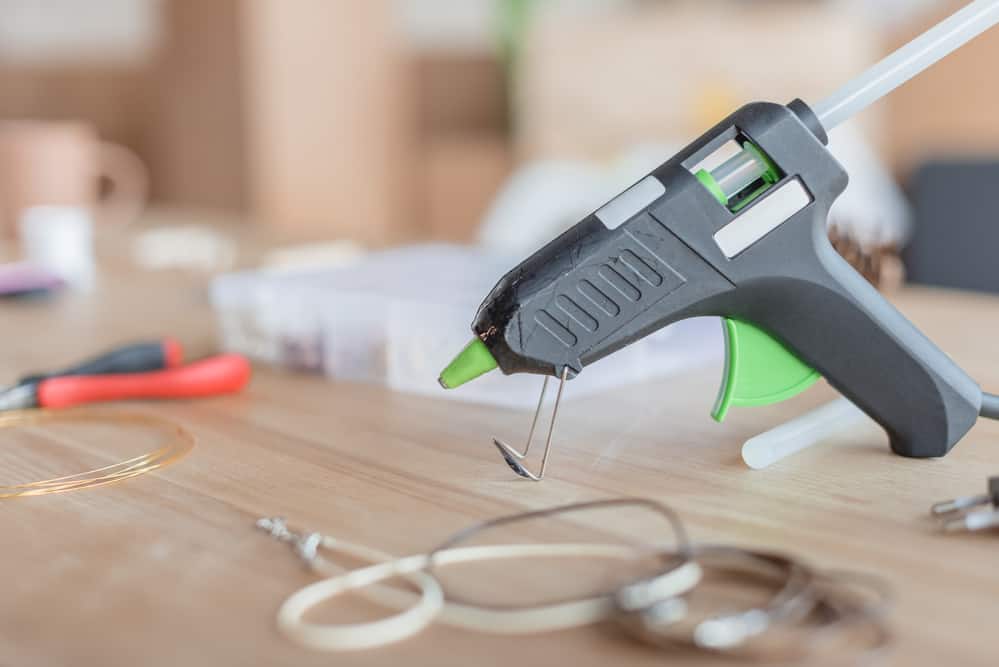
Hot glue is a type of craft glue that entails using a hot glue gun and glue sticks.
When the glue stick is placed in the glue gun, it melts gently.
This product is used for all sorts of crafts.
It can be used on a variety of elements such as wood, and yes, the metal on the rhinestones.
Step One
Place the glue gun on a heat-safe surface.
Insert a glue stick inside the circular hole in the back and allow the gun to heat it gently.
In the meantime, after following the appropriate steps in this article for whatever type of topcoat you choose, set your rhinestones out on the table.
Craft tables are best for this type of thing as this process can get messy.
Make sure you have a small scissor to cut the strings of glue that can sometimes appear as you pull the gun from the surface you’re applying it to.
It dries in the air very quickly, so you must move quickly.
It’s recommended that you have an idea of where you want to place your rhinestones before you put them on.
Step Two
Put the tip of the hot glue gun at an angle so that the glue has room to come out onto the nail without glopping.
You want less than a pea size, but more than a pinhead’s worth of glue bead.
As you pull the glue gun away from the glue bead, you can twist the gun in a spiral motion to pull the excess glue string off if there is one.
Otherwise, that’s what your scissors are for.
Step Three
Quickly, place the rhinestone onto the glue bead and gently press it in.
If you find that you’ve used more glue than is necessary, it will dry clear and shouldn’t show too much.
Once you do step four with the gel over top of the rhinestone, it should remedy the situation.
Step Four
Now, you can put gel over the nail, or wait until you have finished all the nails and applied all the rhinestones.
Then you could cure them under the lamps all at once.
Do make sure that you are using a UV or LED lamp because any other method is not apt to cure the gel and the rhinestones will pull more easily from the base.
How Do I Pick Up Rhinestones For My Nails?
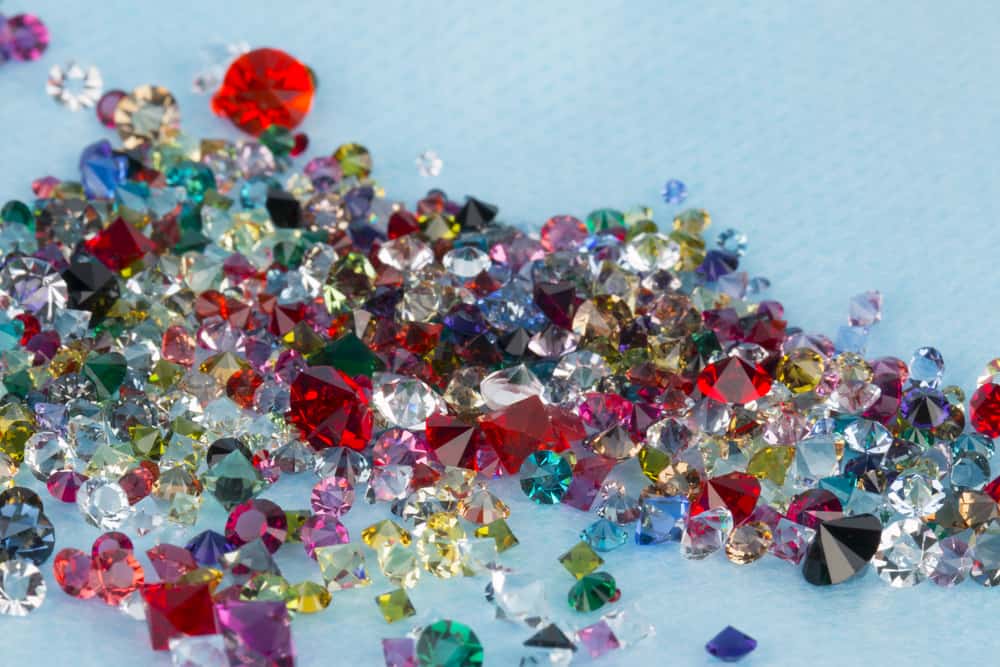
There are a few ways you can pick up rhinestones for your nails.
One way, as was mentioned before, is the tweezer.
That can get a bit tricky for several reasons.
First, if you are working with your non-dominant hand, you’ll be a bit shaky and awkward.
The rhinestones may fall.
They also tend to shoot out of the tweezer tip if held too tightly.
Rhinestones can also turn over, and that’s a problem as the stone will end up with the sparky side dipped in the glue.
For these reasons, you might want to try another way.
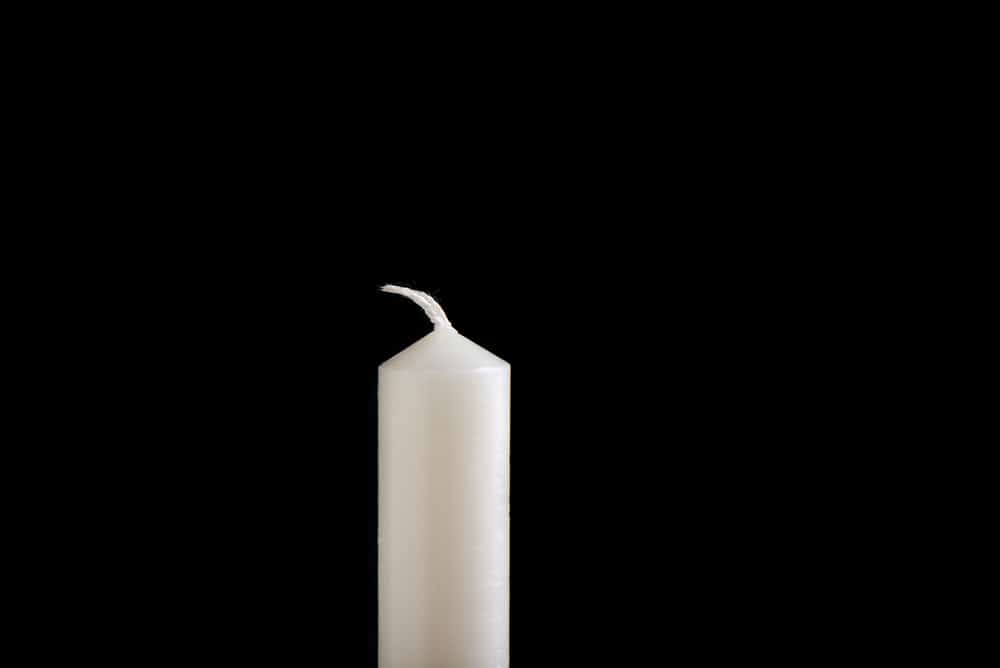
How To Pick Up Rhinestones With A Candle Wax Stick
What’s a candle wax stick?
No, this is not a candle holder.
This is a cheap and easy way to create a rhinestone tool.
Take a pencil or a pen that no longer has any ink.
Anything firm, like a stick with a tip, will do.
Now, take any candle with wax.
Light it and let some of the melted wax pool in the candle next to the wick.
Take the tip and put it in the pool of wax.
Roll the pencil or stick around the melted wax enough to make a small ball of wax on the end.
Once cooled, touch the rhinestone firmly but gently with the wax tip.
It should adhere well.
Now, put the rhinestone on your nail and that’s it.
How Do I Choose Good Quality Rhinestones?

Everyone has a budget for beauty but choosing too cheap a rhinestone can also be a problem.
They must keep their shine, otherwise, it defeats the purpose of having rhinestones, right?
Another reason to choose better ones is you can use them more than once, maybe even many times if you secure them properly, so you don’t lose them.
Here are some ways to choose a better-quality rhinestone.
- The Density: This is important especially when using a heat lamp and chemicals on a rhinestone such as gel, poly gel, or dip nails. Rhinestones have a melting point of 130 to 140 degrees Celsius. The acrylic type of rhinestone is not heat resistant. It is soft and may be damaged eventually or immediately.
- The Brand: Know the brand name of the rhinestone, and you’ll know the quality. It typically follows the progression, from best to less, of Swarovski Crystal, Preciosa, which are glass crystals, then resin and acrylic.
What Rhinestones Are Best For Nails?
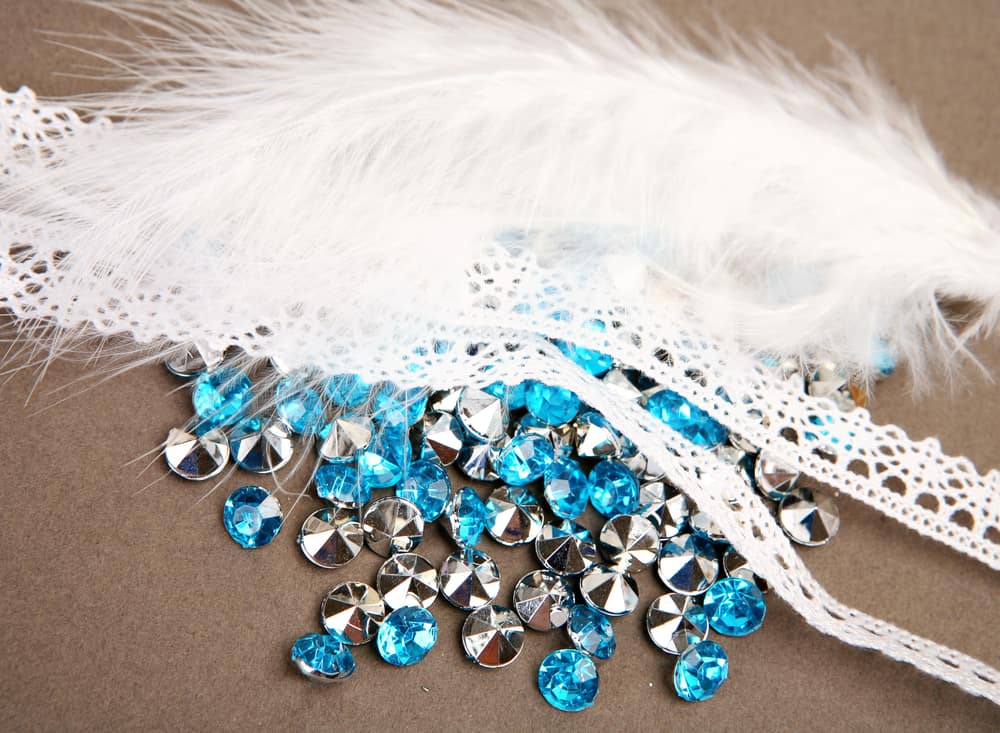
You should choose a good quality flat-back crystal.
You can go by the guide on how to choose the best rhinestones for nails.
You want them to sit firmly on the nail.
Make sure that you read exactly what you are getting because you can’t use pointed-back or beveled.
They are called a lot of different things, so anything other than flat-backs should be inspected carefully.
What Is The Best Glue For Rhinestones On Nails?
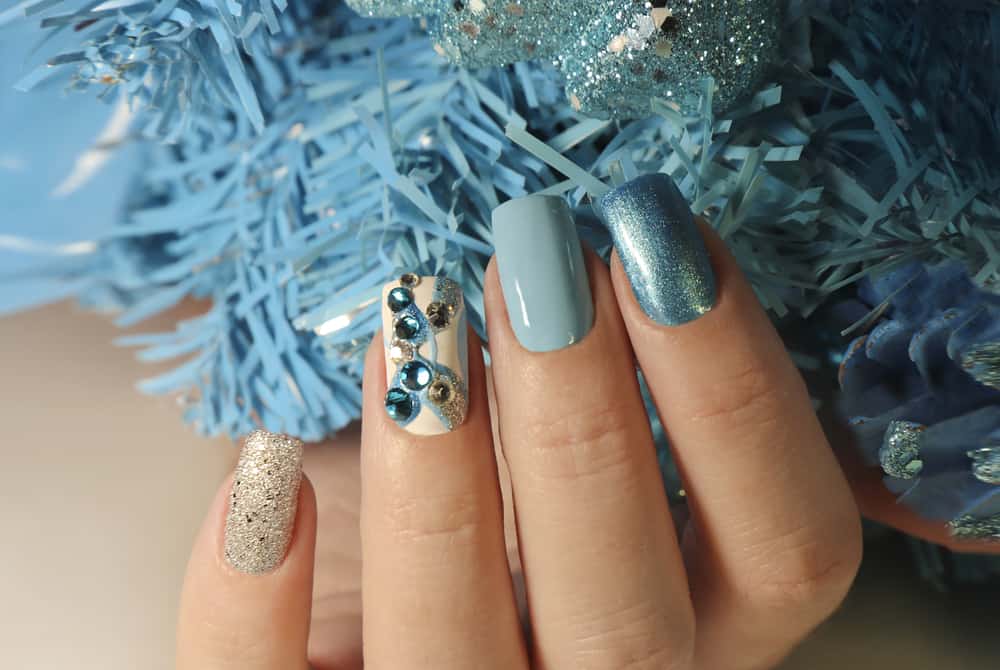
The rhinestone is only as good as the adhesive.
If that’s wrong or inadequate, then you’ll lose your bling the first day.
That’s not only frustrating, but it can also get expensive.
You also don’t want to be left with only the pits in your beautiful and pricey manicure after the rhinestone has made its way to the floor.
One of the best choices is the UV Gel Adhesive.
You need a UV or LED lamp to cure it.
There is also Nail Art Rhinestone Glue and MOPRETTY Super Sticky Rhinestone Glue.
There are many brand names, and you’ll have to be the judge as to which is the best for you.
It’s suggested that you use a gel nail adhesive like these as opposed to nail or superglue or just a topcoat.
Bottom Line
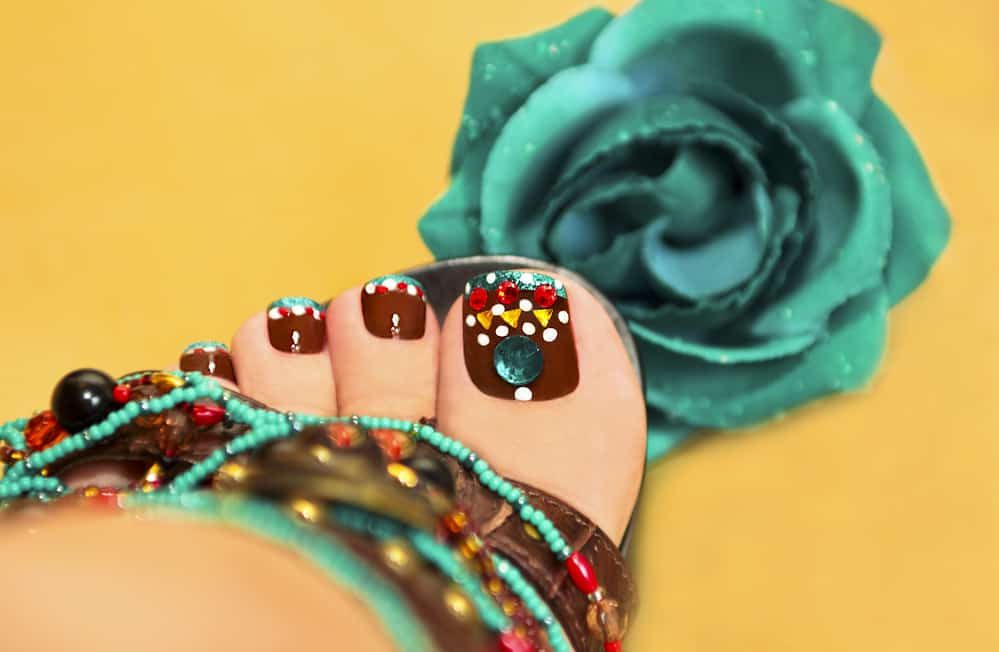
What you need to remember about how to keep rhinestones from falling off your nails is that the rhinestone is only as good as what’s securing it to your nail.
Then, the rhinestone quality must be at least good enough to take the UV or LED heat lamps when you use gel or gel rhinestone glue.
Remember to do one nail at a time if you are a beginner.
It’s suggested that you use gel because you are able to cure one at a time.
This will afford you the time to deal with the pattern you put on the nail.
It will also ensure that the rhinestone doesn’t turn over or shoot away from you.
Glue guns and super glue are more damaging to the nail and may dry under lamps.
Gel is the practical winner in the quality contest.
Try what you can and see what works for you.
Leave a Reply