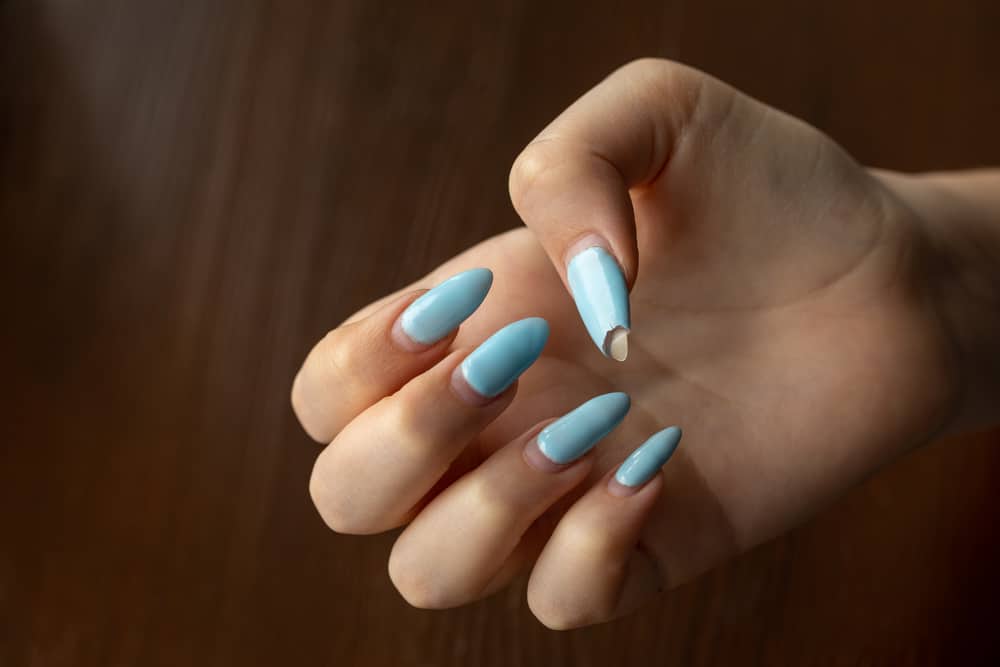
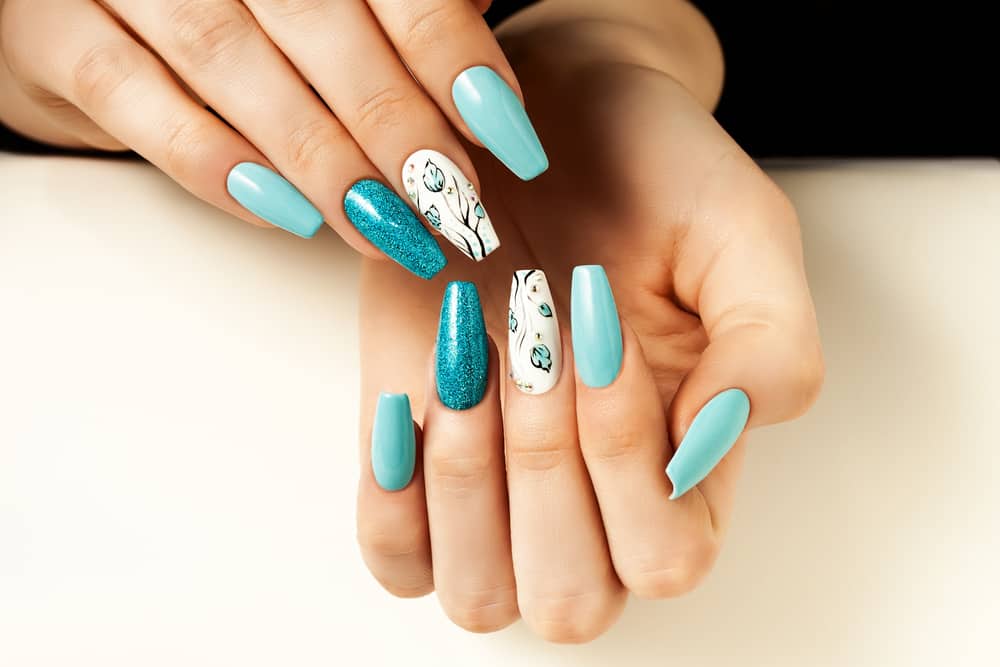
Acrylic nails are as beautiful as they are fragile.
Those who wear acrylic nails know the struggles of keeping them maintained and trying to do everyday things without them breaking.
Sometimes, you do everything right and your nails will still break.
Once an acrylic nail has broken, you need to remove the whole thing.
How To Remove A Broken Acrylic Nail
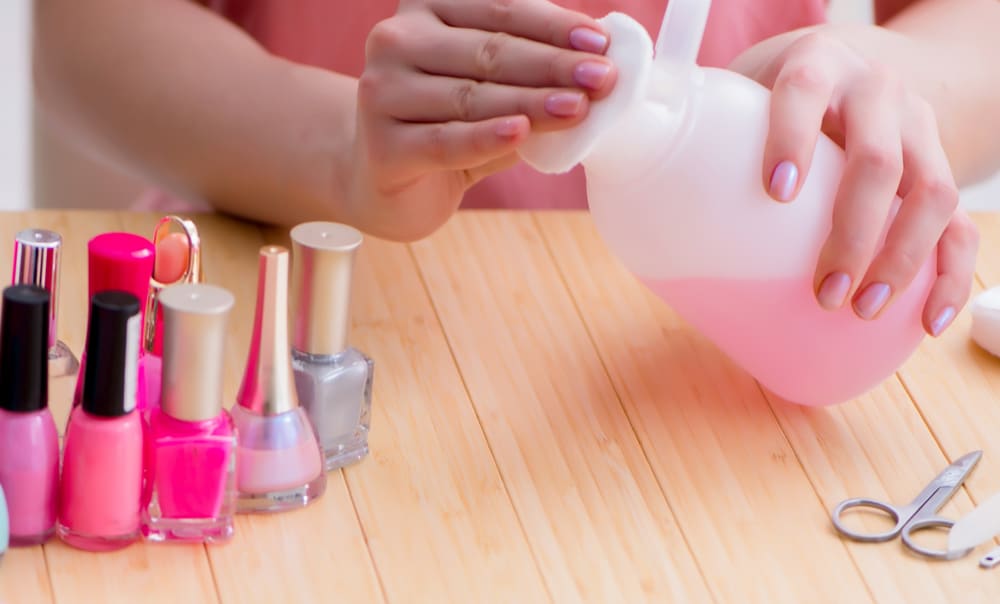
Before you attempt anything with your nails, you’re going to need to grab your supplies.
You’ll want everything with you when you start the procedure, so you won’t need to run around your house like a chicken with its head cut off.
We’re removing a nail, today, not a brain.
Your nail removal arsenal is going to need to include a nail file, a nail clipper, a glass bowl, some acetone, petroleum jelly, hand sanitizer, some soap, and water.
The acetone is going to be used as the nail polish remover.
You can trade out soap and water if you have the proper kind of disinfectant to clean your nails.
If you have everything on this list, then you are ready to go.
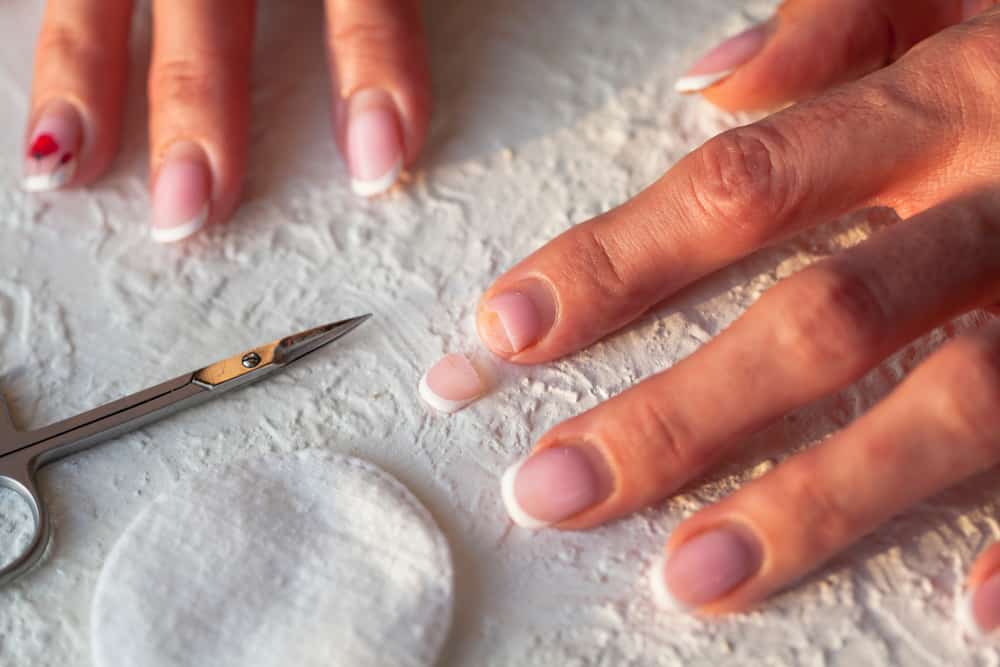
Step 1: Removing The Broken Pieces

Wherever the break in the acrylic nail is, that’s where you’re going to want to start.
Break out your nail clipper and nail file and make sure they are clean and have been disinfected.
You should clean all of your beauty tools regularly to avoid any bacteria building up on them and then spreading to you.
Once your tools are clean, then begin to break up and remove the pieces of your nail using your nail clipper.
You may need to use your nail file to thin out your nail if it is too thick for your clipper to cut through.
If your acrylic nail is lifted up, you may get away with only needing to file your nails.
File your nail until the acrylic pops off.
When using your nail clipper, the one thing you’ll want to avoid is cutting too low and into your nail bed.
You will know if you cut too deep because it will sting and bleed.
Avoid using your nail clipper to tear off the acrylic nail.
This can cause a lot of damage to your natural nail.
Step 2: Break Out The Acetone
For this step, you’re going to want to grab that glass bowl and acetone that you got earlier.
Fill your glass bowl with acetone deep enough for your finger to soak.
If you have a history of your body not reacting well to acetone or other harsh chemicals, you’re going to want to break out the petroleum jelly.
Put a thin coat of petroleum jelly on the skin surrounding the nail to offer a small barrier against the acetone to help reduce any irritation of the skin.
Once your finger is prepped, you will then soak your fingernail in the acetone for several minutes at a time.
The thicker the nail, the longer you will need to soak your nail.
While you are soaking your nail, the acetone is eating away at the nail glue, allowing for a cleaner removal.
Whenever you use acetone, keep it away from flames because it is highly flammable.
You will also want to work near an open window and keep your work area well ventilated.
The strong smells of acetone are known for causing headaches, so if you are prone to headaches or migraines, you may want to wear a mask over your mouth and nose during this part of the process.
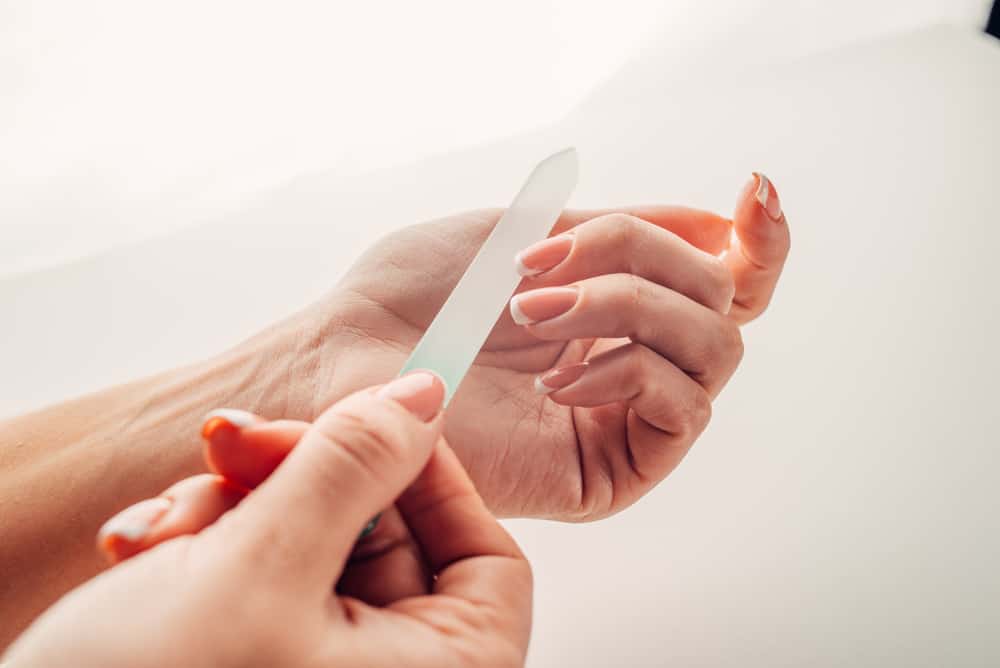
Step 3: File Down The Broken Nail
The acetone has loosened up any parts of the nail that have clung on, but it won’t always completely remove it.
You’ll need to take out your nail file once more and begin to smooth the nail back to its natural form.
This step is still necessary if you plan to reapply an acrylic nail because it is crucial to the health of your nails that they are cleaned properly between acrylic nail applications.
Bacteria is able to creep into even the tiniest of crevices.
File the nail until your nail is as smooth as possible, but you will also want to ensure that you aren’t damaging the nail.
The constant wearing of acrylic nails or even nail polish is already hard on your nails.
The last thing you want to do is damage your nail further by filing or buffing too much.
If you do end up damaging the nail, you will want to give the nail a break from most nail treatments, such as acrylic, gel, or even dip powder nails.
There are nail hardening glosses you can put on your nails to help them heal, such as Sally Hansen’s Hard as Nails Clear Hardener.
Take this time to smooth out the edge of your nail and reshape it if your nail needs it.
By moving from the base of the nail to the tip of the nail, you will be less likely to damage your nail any further.
Make sure that you leave the nail long enough to support another acrylic nail if you plan to reapply an acrylic nail afterward.
Step 4: Clean The Nail
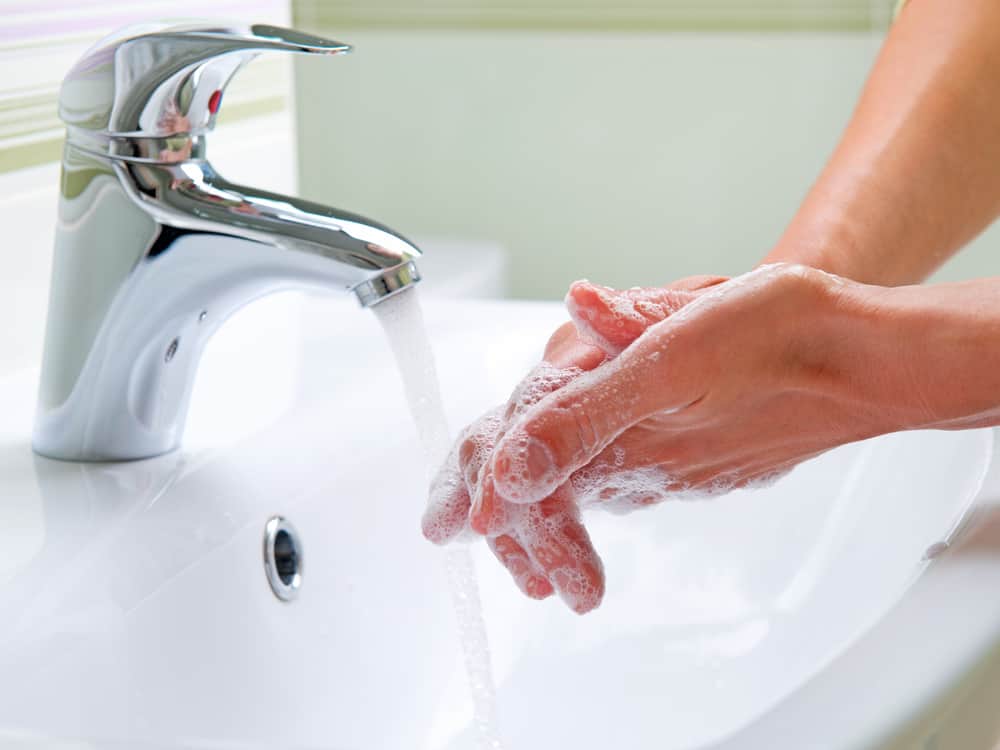
Between the chemicals you’ve been using on your hands and all the filing you’ve had to do, your nail is going to need a proper washing.
Soap and water will do the trick, but you may also use a professional nail disinfecting solution if you have it.
You will need to clean the nail properly to avoid infection or fungal growth.
Those who do not clean their nails properly may be at high risk of bacteria or fungal growth forming on, around, or under their nails.
According to the University of Michigan, fungal growth and bacterial infections are common for those who do not thoroughly wash their nails and hands when applying acrylic nails.
Bacterial infections can happen if you catch your natural nail bed with your acrylic nail.
The infection then grows between the two nails and can spread through the finger.
Fungal infections can occur when moisture builds between your acrylic nail and your natural nail.
The dark, moist area between the two nails is the perfect breeding ground for fungus.
By cleaning your nail properly, you can avoid both fungal and bacterial infections in your nails.
Some other tips for keeping your nails healthy are to not wear acrylic nails for more than three months at a time and to not reapply acrylic to a nail that looks irritated or damaged.
Giving your nails a break from acrylics from time to time also helps prevent infection.
Step 5: To Reapply Or Not To Reapply

Now that your nail is cleaned up and taken care of, you should decide on what you’re going to do with your whole hand.
Some may think you look a tad odd with four acrylic nails and one natural nail, so you will either be reapplying the nail or taking the rest of your acrylic nails off.
If your nail is damaged, it is highly recommended for your nails’ health to remove the acrylic nails and go natural for as long as you feel comfortable doing so.
The longer your nails aren’t under the stress that acrylic nails and even nail polishes cause, the healthier your nails will be.
You can also take supplements and use nail hardeners to speed up the process.
As long as your natural nail is healthy, you can reapply an acrylic nail with no problem.
Nobody wants to throw out all of their acrylic nails because one broke.
After a proper cleaning, your nail is ready to support another acrylic nail with a vastly lower risk of infection.
Step 6: Moisturize The Skin
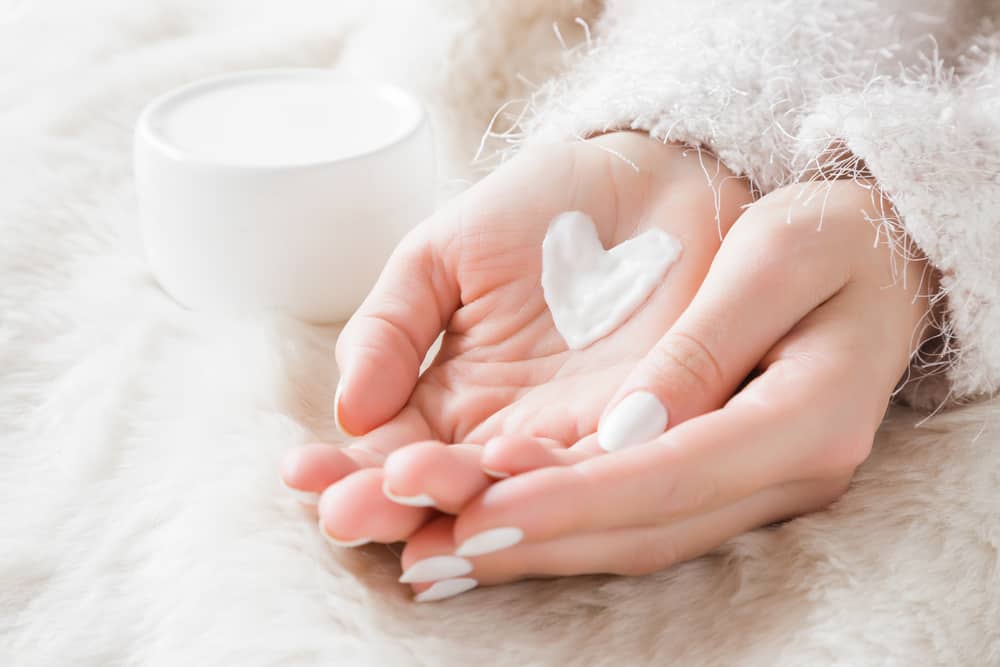
During this process, you have used quite a few chemicals on your skin.
You will want to moisturize your hands.
Acetone, disinfectants, and even petroleum jelly are all known for leaving skin as dry as the desert.
Dry skin can be extremely uncomfortable and can lead to skin cracking and bleeding.
If you have put on nail polish or a replacement acrylic nail, then you will want to wait until everything is set and dried before you moisturize.
What To Do If Your Nail Bleeds
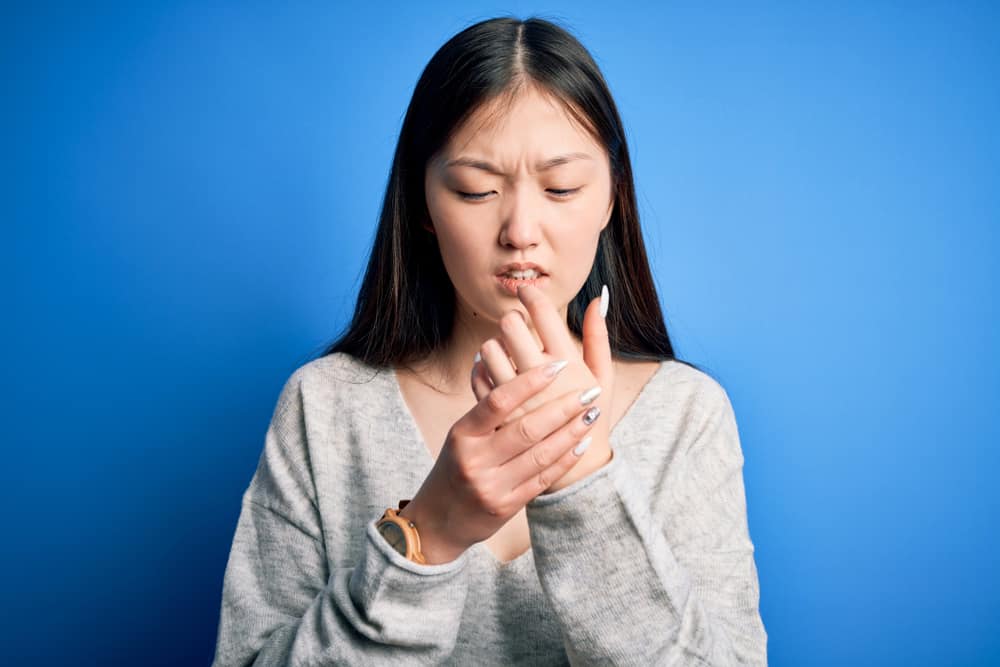
If your nail begins to bleed during this process, you will want to stop what you’re doing and focus your attention on healing the nail properly.
Serious damage to your nail bed can affect how your nails grow in the future and can even damage your nail matrix, which is the starting point of your nail.
There are ways to help the nail get back its natural form.
You will want to first stop any bleeding.
Take off any jewelry to avoid making a bloody mess of them.
Wash the infected area thoroughly, but avoid touching it directly as it can be painful.
Continuing washing until the bleeding stops.
Then, dry the injured finger gently with a towel to avoid moisture build up.
You should also apply an antibiotic cream to help the nail heal faster.
Place a Band-Aid on it if it continues to bleed.
If it doesn’t, there is a way to fix the nail temporarily.
Start by washing your hands and the wound thoroughly and then find yourself a tea bag or coffee filter.
Spread a small amount of nail glue across your broken nail.
Cut a small piece of fabric out of the teabag.
You will be using this to cover the broken nail.
Lay the fabric flat on your nail and then use tweezers to tuck the fabric underneath the broken nail.
Then cover the tea bag fabric with another thin coat of nail glue.
Once your nail glue is dried, you can buff or file the nail until it is a natural shape.
You will then need to apply a protective coat of nail hardener or another protective polish of your choice.
Preventing Breaks
In any situation, it is always better to take preventative measures rather than wait for a problem to occur.
By being proactive about nail damage, you will save yourself time, money, and any embarrassment that comes with missing an acrylic nail.
Thinking ahead is an important part of getting the perfect nails for you.
Although long acrylic nails are fierce and alluring, they may not last long if you are someone who relies on your hands and fingers for work.
The longer the nail, the more likely it is to break.
Those who do heavy work with their hands, such as hand washing dishes or lifting heavy objects, may want to consider acrylic nails that are shorter and a more natural length.
As your acrylic nails get older, they will grow stiffer and more brittle.
Applying nail oil a couple of times per day will help them stay moisturized and flexible.
Each time you use nail oil, you will only need a couple of drops per nail.
We all have to do chores, like washing dishes, at least once per day, and our acrylic nails can’t be used as excuses not to do them.
When you finally break down and do your dishes, wear a protective, waterproof glove to keep your acrylic nails safe, make them last longer, and lower the chance of moisture building between your acrylic nail and your natural nail.
The Guitarist’s Manicure

You’d think that having acrylic nails would be a nightmare for guitarists, but you may be surprised to find that some guitarists will choose to have acrylic nails instead of picks.
Guitar picks and acrylic nails are just about the same thing when you break them down: plastic.
While nails that are too long can be a hindrance, the perfect length nail can have you tossing out all of your guitar picks.
This isn’t a new trend that has come forth since society is becoming more accepting of people of any gender taking care of their nails.
Classical and bass guitarists have been receiving what the guitar community calls the Guitarist’s Manicure.
Multi-instrumentalists, such as Alexander Turnquist, recommend that any instrumentalist who fingerpicks grow out their nails and add short acrylics for extra nail strength while plucking or strumming.
Many guitarists claim that by plucking and strumming with their nails, they are able to be more agile and accurate with their picking.
For your Guitarist’s Manicure, you will only want your nail to extend two to three millimeters.
Three coats of polish seem to be the best for the active fingers of a guitarist.
Consider how thick you like your guitar picks and apply that to your nail’s thickness.
The more closely your fingernails are shaped like a guitar pick, the more similar it will feel to play with your nails instead of guitar picks.
No Need to Cry Over A Broken Nail

Although it can be painful and sometimes a tad embarrassing to break one of your acrylic nails, it doesn’t mean that it has to ruin your day.
Taking care of your nails is an excellent time to focus on what your needs are and pamper yourself a little, even if you are doing it at home.
In order to have a safe experience fixing your broken acrylic nail, be sure that your nail and nail care tools are clean.
While acrylic nails are beautiful, healthy nails are even more beautiful and will serve you a lot better.
Leave a Reply