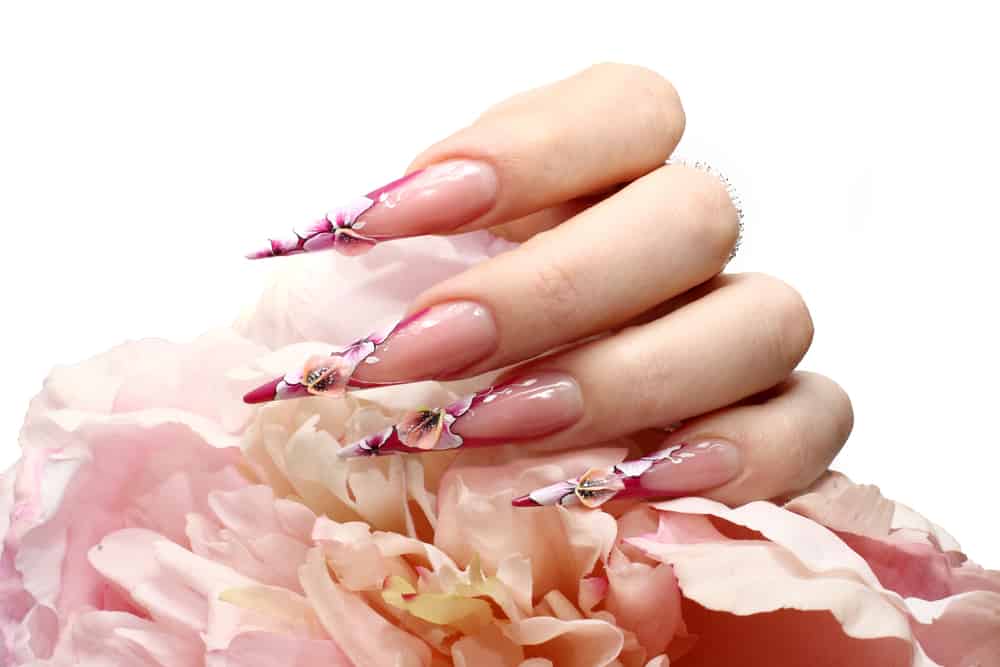
Acrylic nails are a beautiful enhancement to anyone’s hands.
They last longer than your natural nails, and they’re easily decorated to showcase your personal style.
The best part about them is you don’t have to worry about them cracking, splitting, or breaking without excessive force from unnatural use.
That doesn’t mean they can go without maintenance.
How To Shorten Acrylic Nails: A Step-by-Step Guide
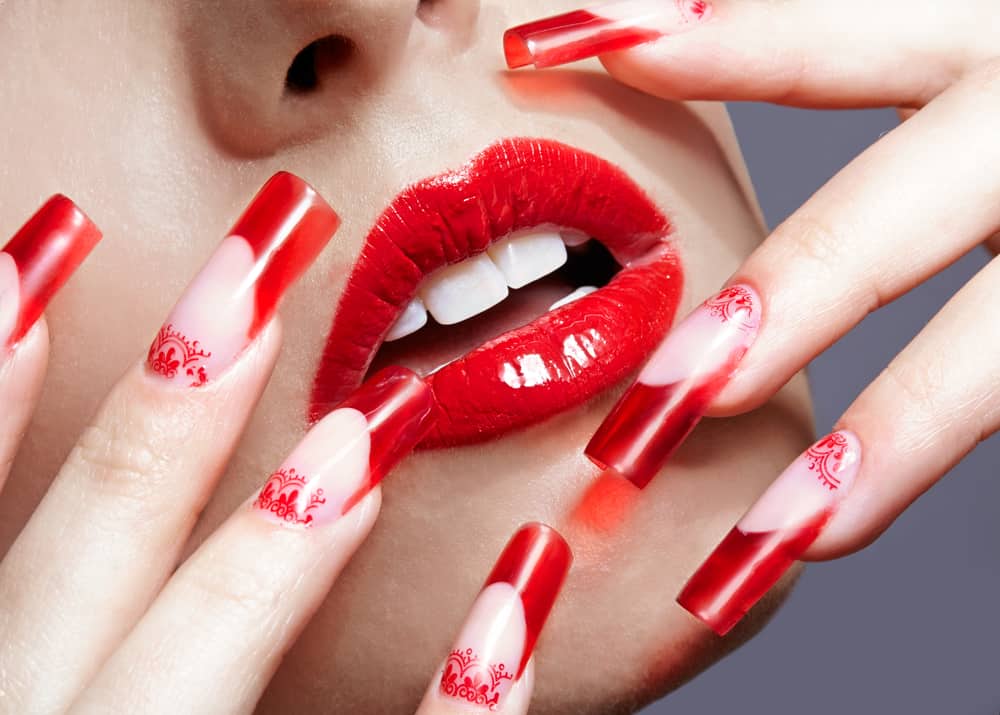
You can shorten your acrylic nails in steps.
It has to be done carefully, using the correct steps to ensure they don’t just snap.
There are several steps to getting your acrylic nails to the length you want safely.
1. Assess Your Length
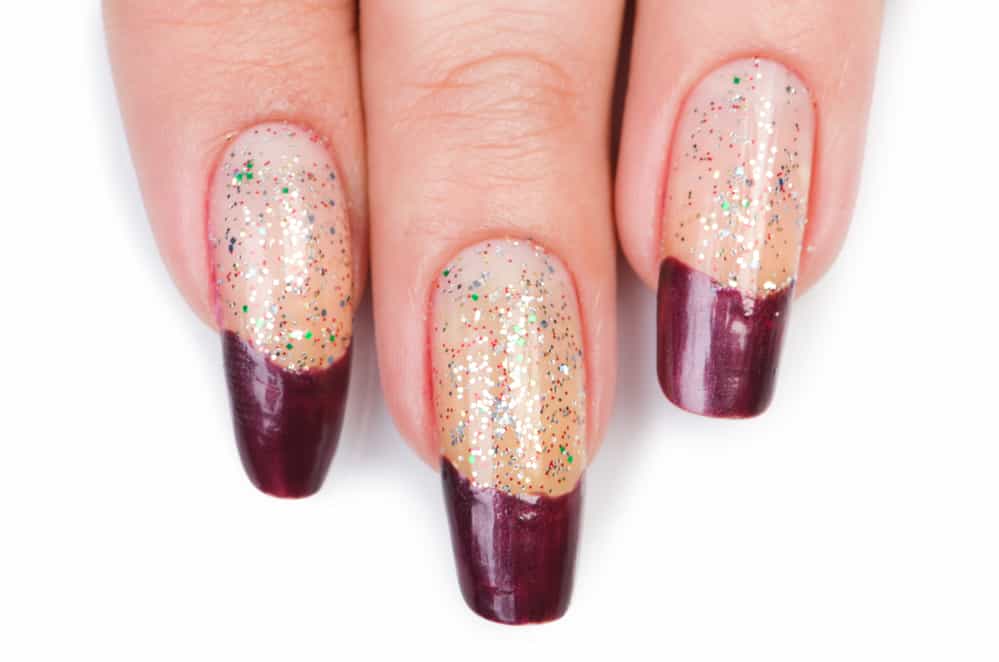
Assess where you want your nails to be in terms of length.
This will determine how you decide on the correct action to take.
If you only want to shave a bit off the top because they’re getting in your way, then a nail file will suffice.
Keep in mind that the drugstore emery board type of nail file is not going to cut it for acrylics.
These nails are far thicker and stronger than your natural nail, so you must use the proper tools that are tough enough to do the job.
2. To File Or Clip?
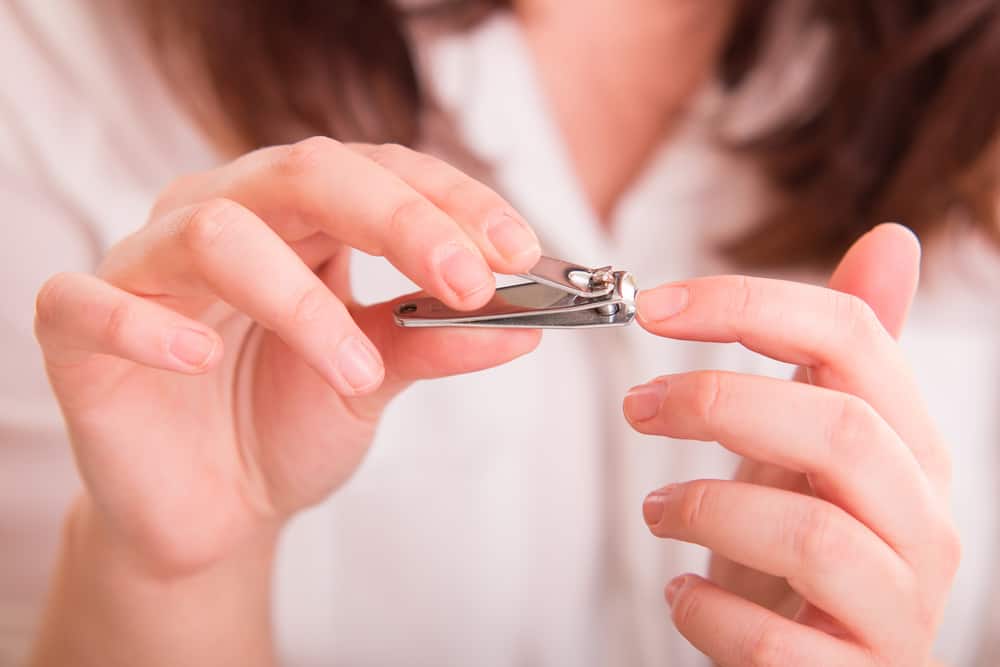
If the nail needs to be clipped to achieve your desired result, you should have the file handy.
Clippers will undoubtedly leave the edge of the nail a bit jagged.
The way to file or clip the nail is from the direction of the base to the tip.
This won’t wreck the chemistry of the nail or cause unexpected structural issues later.
When dealing with acrylic, gel, or any type of material that is not your natural nail, keep in mind that there’s a chemical composition.
The best example is wood and glass.
Even though no nails are made from these materials, the reaction that your nail may have to certain environments is similar.
If you hammer a nail into or cut wood against the grain the wrong way, it will split.
Similarly, if you place a hot plate on glass, it will break or explode.
You may have witnessed this in the kitchen before.
It can be deceiving as neither material gives any warning before it happens, and it may happen after the fact at some random time.
Your nails should be clipped and filed in small increments.
One-quarter of an inch at a time from the edges to the center.
You’re cutting from the outer edges toward the middle.
Then, clip the point in the center off.
You should now have a semi-octagonal shape like half of a stop sign.
File the nail in the direction of the base to the tip.
Then, clip again in the same way and repeat until you attain the desired shape.
It’s important to remember that the main stress point of a nail is always dead center.
For example, if you cut directly on top of the nail into the center, you are going to have a stress fracture, or worse yet, the nail will crumble.
Then, you must pick the rest of it off the nail bed.
There will be pain and maybe some bleeding and burning.
It’s just a mess.
3. If The Nail Doesn’t Come Off
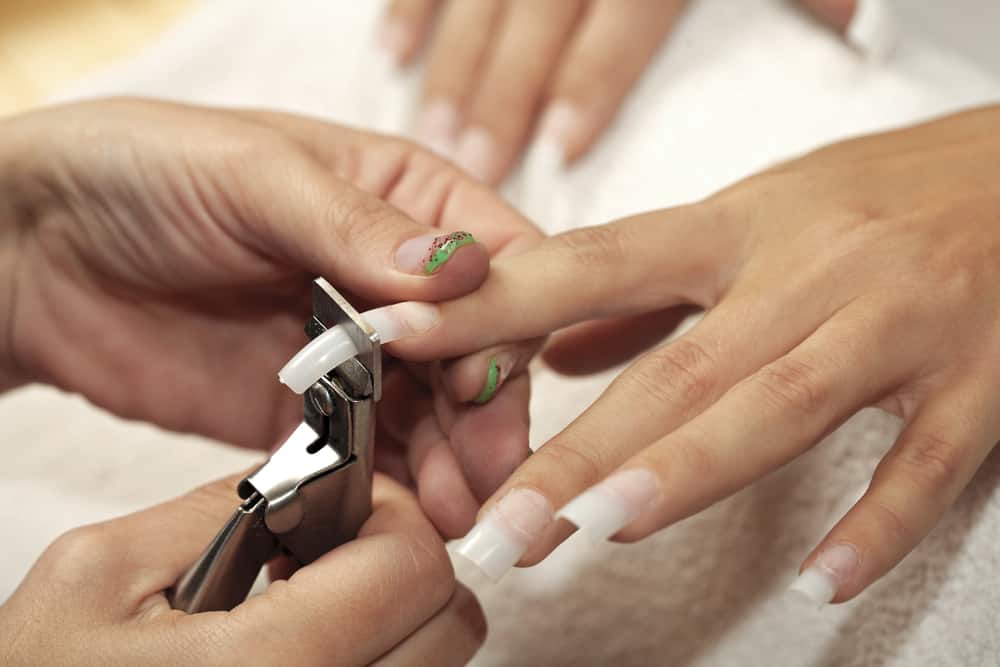
You may find that the cut acrylics aren’t pulled from the nail easily.
Don’t try to twist or yank it from the nail with clippers.
Pull it gently with your fingers.
Patience and close observation is the key to success here.
If you feel that it’s not going well, put a Band-Aid on the nail.
Make sure the sticky part is not on the cut portion.
You only want to hold it together.
Get to a nail salon as soon as possible.
If you decide to try and force it, you are looking at pain and the possibility of losing the acrylic and damaging the natural nail.
When you have a full set of acrylics, you won’t want to damage the natural nail.
This may leave you with one short nail and nine long nails.
4. Thinning The Nail
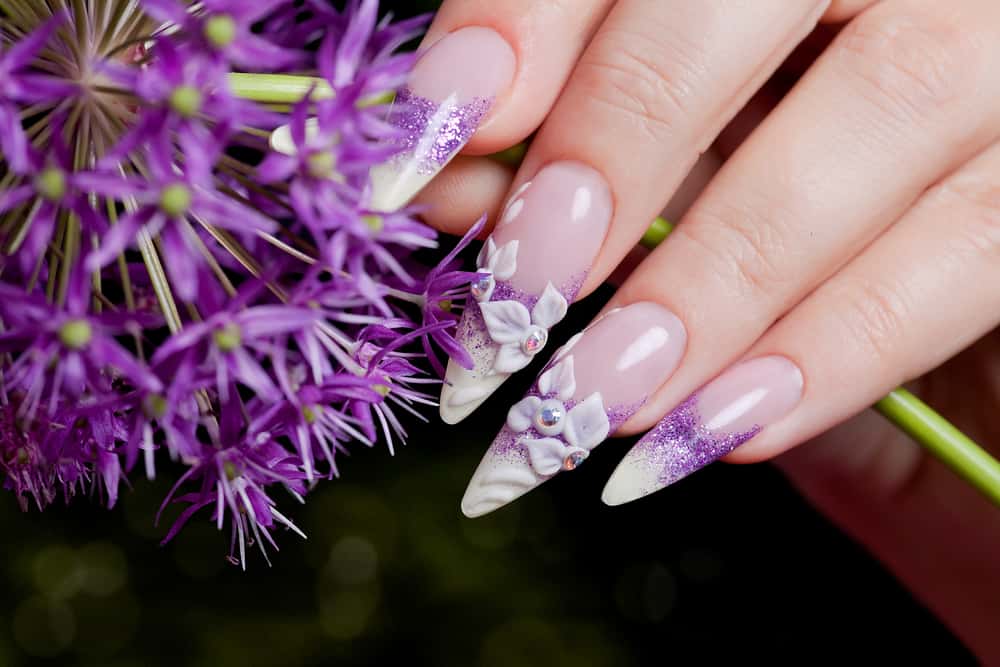
If all went well and you were able to get through steps one through three, then the next step is to thin out the nail.
Once you cut an acrylic nail, it may be thicker than you want.
You can use a Dremel-type grinder or a file to thin it out.
It is suggested to get a professional to do it, but if you want to do it yourself, it’s going to take some work without an electric grinder.
One important note: Please do not use any type of tool that you would use for DIY.
In other words, if it’s not made for nails, don’t use it.
Rotary tools that are used for other things will cause infection and even injury.
These tools heat up and even nail techs slip and catch the side of your finger and burn you on occasion.
If you aren’t proficient at it, there’s no shame in finding professional assistance.
When you grind or file the nail surface down, you must be sure to do it evenly.
That means using a slow speed with long strokes from base to tip.
Regardless of what you may have seen a nail tech do, don’t go wildly up and down the nail in both directions and from side to side.
The smooth strokes will give you the best chance to have fewer pits and uneven bumps on the nail surface.
You may not see them until you paint them.
5. More Shaping And Filing
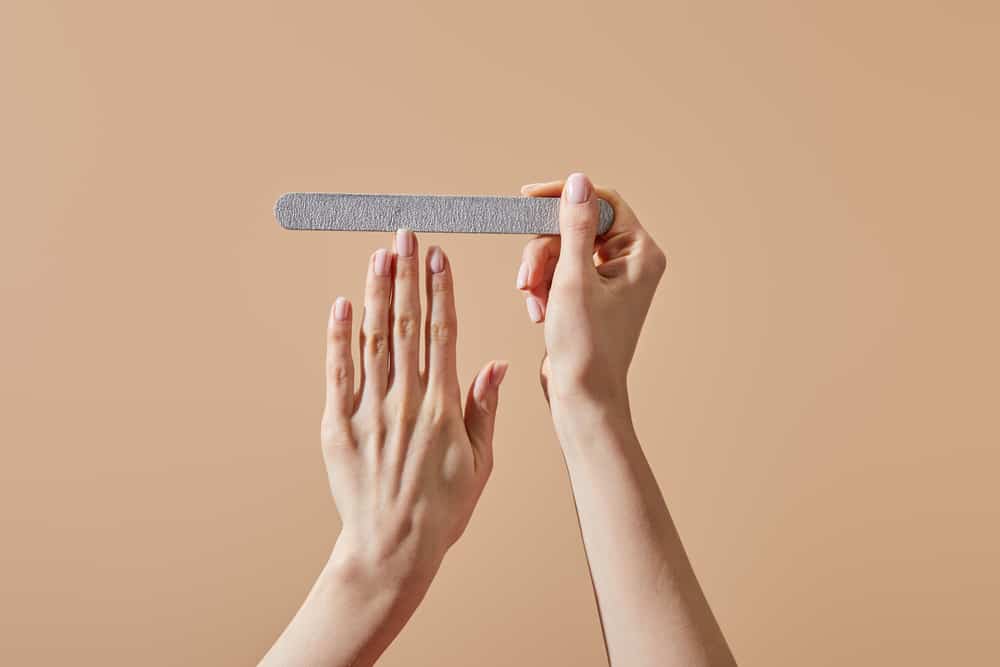
The next step is to file and shape the nail again.
There may be more jagged edges from the grinding, so this must be addressed prior to the last steps.
Follow the same steps as described above for the filing.
Shaping the nail is much the same with one caveat.
You do continue to work from base to tip but shape the nail as desired without moving from tip to base.
You may bevel them by moving straight across or create a squoval shape, which is square and oval at the sides.
You can do blunt and square shapes as well.
Stilettos are easy to do, especially if you left the tip a bit pointed and did not clip it off.
If you have already, it’s easy enough to file it to a point.
You can figure out which shape you should have by looking at the shape of your fingers.
If the area of your nail and cuticle where the half-moon shape is round or oval, then that shape of nail will work.
The same applies for square shapes and so on.
The idea is to look as natural as you can, even if you choose a far-out style.
6. Clean And Polish
Next, you need to prime the nails for polishing by following the same steps as a salon would because it’s vital.
Two things you’ll need apart from the polish, base, and topcoat are a nail brush and some olive oil if you don’t have professional-grade cuticle oil.
Keep in mind why you are performing these steps.
The object here is to get rid of any dust from the filing and any small nail bits or any debris that can be stuck to the nail.
Condition the cuticle and nail tops with oil.
You don’t need much, just enough for the dust to stick to it so you can wash it off.
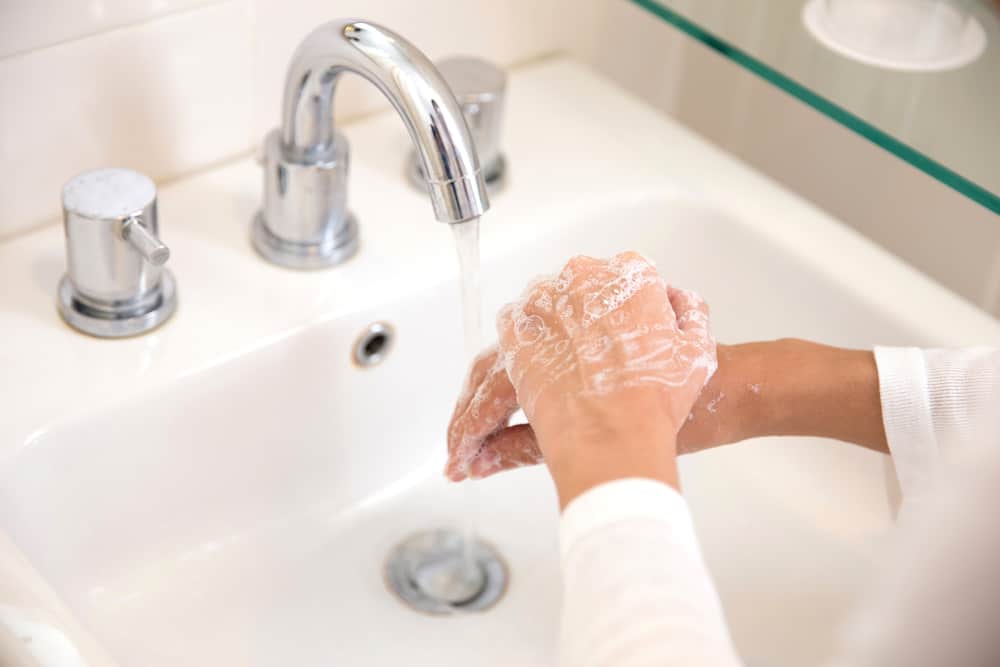
Wash your hands thoroughly with soap and water.
Make sure you rinse well and repeat two to three times to make sure they’re squeaky clean.
Dry them completely and inspect them.
Once you are sure they’re clean enough, you can begin to prepare the nail for the base coat.
Carefully push back the cuticle with an orange stick.
Start from the base to tip with an initial coat of base.
Strokes should be long and the amount of product thin.
Allow this to dry completely.
Apply another thin coat and dry completely again.
Paint the nail with the chosen color that matches your current color.
The first coat should be thin.
The next two coats should be just a bit thicker than the first.
Make sure the color is not gloppy.
That means the color is old and it won’t come out right.
Start with a thin first coat.
If it drags off the brush sticky, remove the polish and use another color.
With acrylics especially, due to the smooth plastic, they can streak.
It’s best to use new polish with them or at least polish you haven’t had too long or kept in the heat.
Now, put the topcoat on up to three coats, thin for the first two and one a bit thicker.
Make sure you use a blow dryer to dry the topcoat.
Then leave them to dry naturally for at least ninety minutes.
Don’t touch water or open anything with your fingers during this time.
7. Tips To Dry Nails Faster
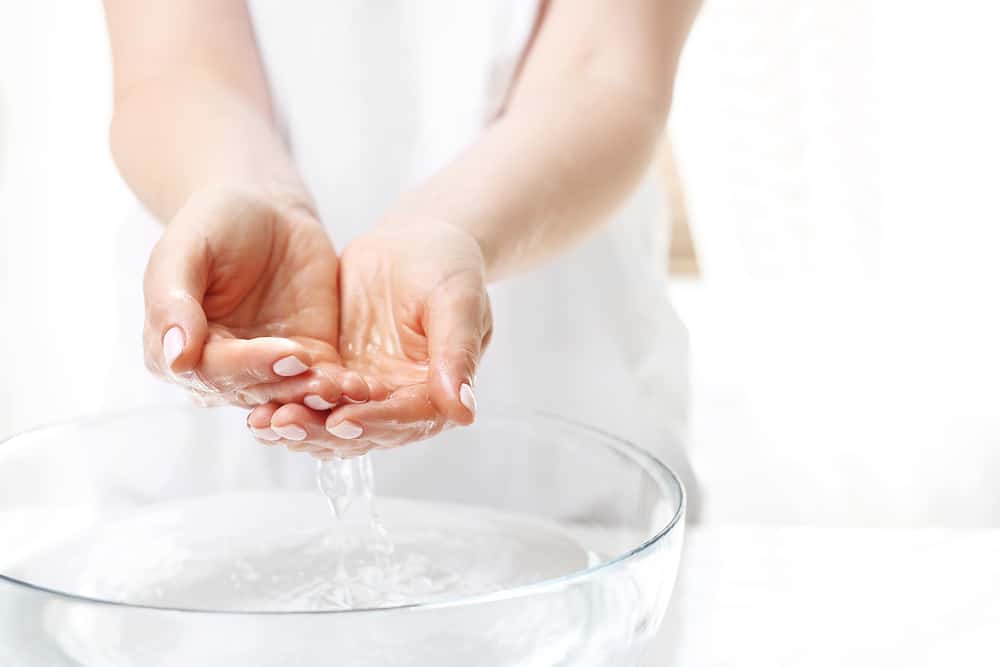
You can make an ice bath and dip your nails in the ice water.
Leave in for three seconds and pull out quickly.
Let drip dry on a towel, don’t rub the nail tops at all.
Alternatively, you can use a heat source like a hair dryer or a professional sealing chemical in spray or liquid.
How To Make Polish Last Longer
Once you have your acrylics clipped back and polished, you’ll want to do all you can to make the polish last as long as possible because now you know how much work goes into caring for acrylics without a professional to do it for you.
Most of what you do to make nail polish last longer happens before you polish them.
The only thing that makes polish last longer after the fact is what you do with your hands.
Make sure you understand that nails are not can openers or a Swiss Army knife.
You know those, don’t you?
The camping knives that have a spoon, a corkscrew, and a bunch of other tools attached?
These are not your nails, but people tend to overestimate the strength of acrylics and use them for opening soda cans and other crazy things.
This is going to do them more harm than good.
It will also cost you more time, trouble, and yes, pain in the long run.
What you can do prior to painting your nails is to follow a few simple preparation steps.
First, when you buy nail polish, make sure it’s a conditioning one.
You don’t have to overspend, but really cheap nail polishes have cheap chemicals in them.
You get what you pay for.
Nail polish strips, not decals, are 100% pure nail polish and can be ordered online.
They take a few minutes to apply and there is no drying time.
The instructions are simple and there are plenty of YouTube videos about how to apply them.
They stay on for weeks to months with no chipping and will protect an acrylic nail.
They even come in gel if that is what you prefer.
The next thing is to make sure you don’t neglect your cuticles.
Many people neglect their manicure habits when they get acrylics thinking that the cuticle has no job to do in the preservation of an acrylic nail.
The truth is that it not only has the same job, but it has more.
Cuticles are the support system for your natural nails.
When you have acrylics, they need an even firmer foundation to serve you properly.
Don’t Soak Them
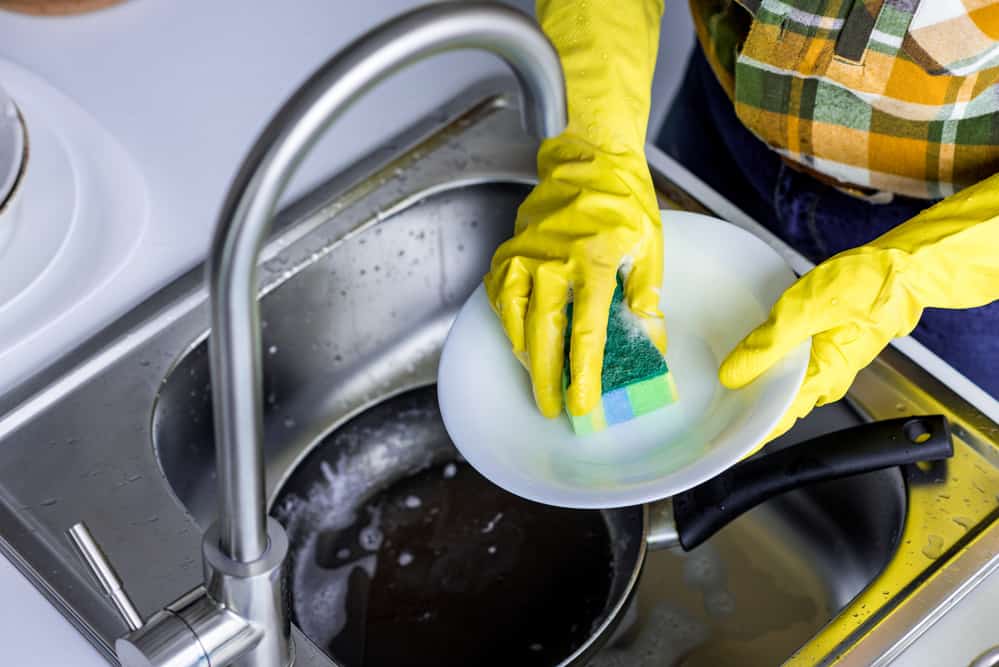
This is another thing that many acrylic nail wearers will take for granted.
Yes, they’re acrylic, meaning plastic, but the acrylic powder and other chemicals will degrade over time.
Remember that water follows the path of least resistance and will find the smallest crack to flow under.
If you wash dishes without gloves or soak in a lot of baths and so on, the nails could start to lift.
Moisture will also create a breeding ground for fungus.
You may not see it until you get another set, and then you’ve got a problem.
Are Acrylic Nails A Good Option For You?

Are acrylics really a good enough option for you?
There are many different options for your nails, and they don’t have to be acrylic.
You may want a softer option that doesn’t take quite as much maintenance.
Gels are another option that lasts longer, and the chemicals are a bit less destructive to the natural nail.
If you already have your own nails, but they break or peel often, you can have a much more natural process done.
Silk wraps are your own nails wrapped in silk.
A hardener is placed on them and then they’re painted.
You still have maintenance, but it’s nowhere near the amount of the acrylic nail.
With a silk wrap, you can cut them a bit more easily and shape them to your liking without the worry of shattering them and having to run to the salon for emergency repair.
Your nails will look much more natural with silk wraps.
The silk is a natural material and even though a hardener still must be put on top to shape and build the nail, they will breathe.
You can still suffer fungus with silk wraps, but it’s uncommon if you follow the same preventive steps as we suggested with acrylics.
Bottom Line
No matter what type of nail treatment you get, you’ll have to maintain them much the same way.
Some are a bit less invasive than others, but you’re still covering your natural nail with something unnatural.
You use your hands all day for many tasks.
The nails will receive some form of abuse at some point.
If you are getting acrylics for convenience, or any fake nail, you may come to realize that they aren’t that convenient.
The best reason to have acrylics is that you want to wear stronger nails.
Most people’s nails, especially nowadays when our nutrition habits are less than ideal, have weak nails.
Acrylics will serve this purpose with proper care.
They’re great if you want to really design your nails to stand out and need more room and length to do so.
There are a plethora of designs to put on nails these days, you could really have fun.
Finally, having acrylics means you look well-manicured.
Hair and nails are the two things that make a person look well put together.
Even if you’re just wearing jeans and a T-Shirt, when your hair and nails are on point, so are you.
Leave a Reply